
Red & Green Christmas Charcuterie Board is an amazing way to celebrate the holiday season. It combines festive colors, delicious flavors, and an interactive dining experience that everyone can enjoy. Imagine a beautifully arranged spread filled with vibrant greens and rich reds, representing the spirit of Christmas on your table. This charcuterie board not only pleases the eyes but also tantalizes the taste buds, making it a centerpiece for your holiday gatherings.
Creating a Red & Green Christmas Charcuterie Board allows for endless creativity. You can choose from a variety of cheeses, meats, fruits, and vegetables, all while maintaining a festive theme. The best part? It’s easy to assemble, making it a perfect addition to any holiday party, family gathering, or cozy night in. Whether you’re hosting a grand feast or a small get-together, this charcuterie board will undoubtedly impress your guests and bring joy to the occasion.
If you’re looking for a way to elevate your holiday entertaining, this amazing charcuterie board is the answer. In this guide, you will discover how to create a stunning Red & Green Christmas Charcuterie Board, why it’s a fantastic choice for your holiday celebrations, and tips for serving it perfectly. Let’s dive into the world of festive flavors and beautiful presentations!
Why You’ll Love This Recipe
The Red & Green Christmas Charcuterie Board is more than just a pretty display; it’s a delightful combination of flavors and textures that everyone will appreciate. Here are some reasons why this recipe will become a holiday favorite:
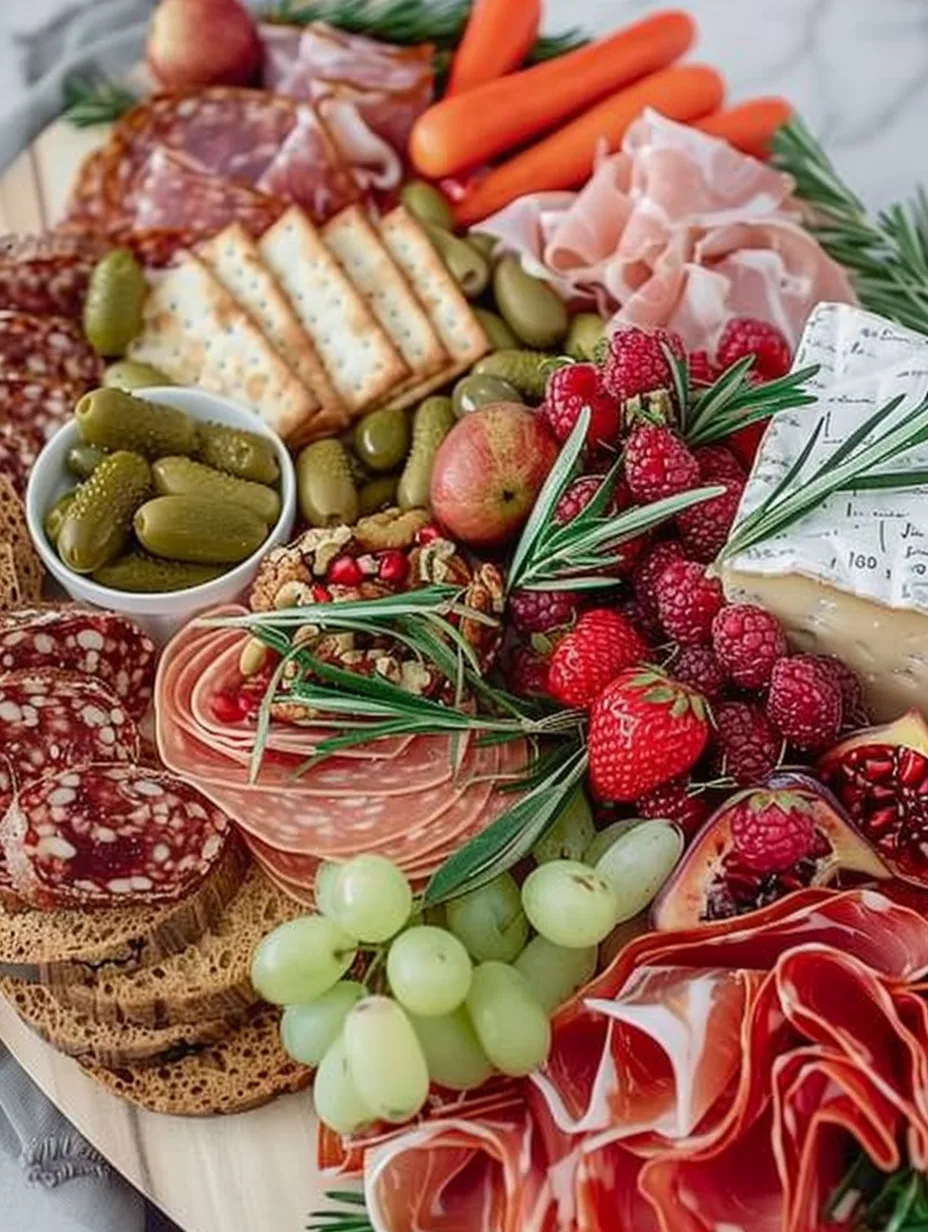
1. Visually Stunning: The vibrant colors of red and green create a festive and inviting atmosphere. Your guests will be drawn to the beauty of the board.
2. Customization: You can tailor the ingredients to suit various tastes and dietary needs. Whether you prefer meats, cheeses, or vegetarian options, the choice is yours.
3. Easy Assembly: Preparing this charcuterie board is straightforward and requires minimal cooking. Just arrange the ingredients, and you’re ready to go!
4. Encourages Sharing: Charcuterie boards are perfect for social gatherings, as they encourage interaction and sharing among guests.
5. Versatile: This board can be served as an appetizer, snack, or even a light meal, depending on how you choose to fill it.
6. Delicious Flavor Combinations: The mix of sweet, savory, and crunchy elements creates a satisfying tasting experience.
With these incredible benefits, you’ll quickly see why the Red & Green Christmas Charcuterie Board is a must-have for your holiday celebrations!
Preparation and Cooking Time
Creating your Red & Green Christmas Charcuterie Board is quick and easy! Here’s an overview of the time required for preparation:
– Preparation Time: 20-30 minutes
– Assembly Time: 10-15 minutes
In total, you can have this festive board ready in under an hour, making it an ideal choice for last-minute holiday gatherings.
Ingredients
– Assorted cheeses (e.g., brie, cheddar, gouda)
– Salami or prosciutto
– Fresh strawberries
– Red grapes
– Cherry tomatoes
– Green bell peppers
– Cucumbers
– Fresh basil or mint leaves
– Nuts (e.g., almonds or walnuts)
– Crackers or breadsticks
– Honey or fig jam (for sweetness)
– Optional garnishes (e.g., rosemary sprigs)
Step-by-Step Instructions
Creating your Red & Green Christmas Charcuterie Board is simple and fun! Follow these steps for a stunning presentation:
1. Choose Your Board: Select a large wooden or slate board as your base. Ensure it has enough space for all your ingredients.
2. Prepare Ingredients: Wash and dry all fruits and vegetables. Cut cheeses and meats into bite-sized pieces or wedges for easy serving.
3. Arrange the Cheeses: Start by placing your cheeses first. This serves as the foundation for the board. Arrange them in different areas for visual appeal.
4. Add Meats: Fold or roll the salami or prosciutto and place them next to the cheeses. This creates an inviting look and adds texture.
5. Fill in the Fruits: Add fresh strawberries, red grapes, and cherry tomatoes around the cheeses and meats. Use the vibrant colors to enhance the festive theme.
6. Incorporate Vegetables: Slice cucumbers and bell peppers. Place them in clusters to create a fresh contrast against the other ingredients.
7. Add Nuts and Crackers: Fill in any gaps with nuts and crackers. These add crunch and variety to the board.
8. Include Sweet Elements: Drizzle honey or add a small bowl of fig jam for a sweet touch that complements the savory flavors.
9. Garnish: Finish off your board with fresh basil or mint leaves and optional rosemary sprigs for an aromatic touch.
10. Serve: Place serving utensils nearby, and your Red & Green Christmas Charcuterie Board is ready to be enjoyed!
How to Serve
Serving your Red & Green Christmas Charcuterie Board can enhance the overall experience for your guests. Here are some tips to make it memorable:
1. Presentation Matters: Consider using a decorative platter or a festive tablecloth to set the mood. A well-presented board can elevate the dining experience.
2. Accompaniments: Offer a selection of drinks, such as wine or holiday cocktails, to pair with the board. This adds to the festive atmosphere.
3. Encourage Interaction: Place the board in a central location where guests can easily access it. Encourage them to mix and match flavors as they enjoy the spread.
4. Use Labeling: If you have unique or specialty items, consider labeling them. This helps guests know what they’re tasting and can spark conversation.
5. Adjust Portions: Depending on the number of guests, make sure to provide enough food without overwhelming the board. Smaller portions encourage guests to try different items.
By following these serving tips, your Red & Green Christmas Charcuterie Board will not only be a feast for the eyes but also a delightful culinary experience for all your guests. Enjoy the holiday season with this incredible charcuterie creation!
Additional Tips
– Use Fresh Ingredients: Fresh fruits and vegetables will enhance both the flavor and the presentation of your Red & Green Christmas Charcuterie Board.
– Balance Flavors: Include a mix of salty, sweet, and savory items to create a balanced tasting experience that caters to all palates.
– Consider Dietary Restrictions: Be mindful of your guests’ dietary restrictions. Include gluten-free crackers or dairy-free cheese options to ensure everyone can enjoy the board.
Recipe Variation
Feel free to experiment with different combinations! Here are some variations to consider:
1. Cheese Lovers’ Board: Focus on an assortment of cheeses, including blue cheese and goat cheese, paired with complementary fruits like figs and dried cranberries.
2. Vegetarian Delight: Replace meats with additional veggies or plant-based proteins, such as hummus or marinated tofu, for a vegetarian-friendly option.
3. Sweet and Savory: Add chocolate-covered strawberries or peppermint bark for a sweet twist that still fits the holiday theme.
Freezing and Storage
– Storage: Keep any leftover ingredients in airtight containers in the refrigerator. Most fruits and vegetables can last 3-5 days, while cheeses and meats may last a bit longer.
– Freezing: While it’s best to assemble your charcuterie board fresh, you can freeze some ingredients like nuts or cheeses for later use. Just ensure they are well-sealed to prevent freezer burn.
Special Equipment
You won’t need much to create your Red & Green Christmas Charcuterie Board, but here are a few helpful tools:
– Cutting Board or Slate Board: A large board provides ample space for your ingredients.
– Cheese Knife: A good cheese knife makes it easier to slice through various types of cheese without making a mess.
– Small Bowls: Use small bowls for dips, jams, or nuts to keep the board organized and visually appealing.
Frequently Asked Questions
Can I make the charcuterie board in advance?
Yes, you can prepare certain ingredients like cheeses and meats a few hours ahead of time. However, it’s best to assemble the board shortly before serving for the freshest taste.
How do I keep the fruits from browning?
To prevent fruits like apples or pears from browning, you can toss them in a bit of lemon juice before placing them on the board.
What if I have leftover ingredients?
Leftover ingredients can be stored in the refrigerator for a few days. Use them in salads, sandwiches, or as snacks.
Can I customize the flavors based on the season?
Absolutely! While this board is festive for Christmas, you can adapt the ingredients based on seasonal fruits and vegetables throughout the year.
Is a charcuterie board suitable for all occasions?
Yes! Charcuterie boards are versatile and can be tailored for any event, from casual gatherings to formal dinners.
Conclusion
The Red & Green Christmas Charcuterie Board is not only a feast for the eyes but also a delightful mix of flavors that will impress your guests. With its vibrant colors, easy assembly, and endless customization options, this board is perfect for any holiday celebration. Whether it’s a large family gathering or an intimate get-together, your charcuterie board will serve as a centerpiece that invites conversation and sharing. Enjoy the holiday spirit with this incredible culinary creation!

Red & Green Christmas Charcuterie Board: An Incredible Ultimate Guide
- Total Time: 6 minute
Ingredients
– Assorted cheeses (e.g., brie, cheddar, gouda)
– Salami or prosciutto
– Fresh strawberries
– Red grapes
– Cherry tomatoes
– Green bell peppers
– Cucumbers
– Fresh basil or mint leaves
– Nuts (e.g., almonds or walnuts)
– Crackers or breadsticks
– Honey or fig jam (for sweetness)
– Optional garnishes (e.g., rosemary sprigs)
Instructions
Creating your Red & Green Christmas Charcuterie Board is simple and fun! Follow these steps for a stunning presentation:
1. Choose Your Board: Select a large wooden or slate board as your base. Ensure it has enough space for all your ingredients.
2. Prepare Ingredients: Wash and dry all fruits and vegetables. Cut cheeses and meats into bite-sized pieces or wedges for easy serving.
3. Arrange the Cheeses: Start by placing your cheeses first. This serves as the foundation for the board. Arrange them in different areas for visual appeal.
4. Add Meats: Fold or roll the salami or prosciutto and place them next to the cheeses. This creates an inviting look and adds texture.
5. Fill in the Fruits: Add fresh strawberries, red grapes, and cherry tomatoes around the cheeses and meats. Use the vibrant colors to enhance the festive theme.
6. Incorporate Vegetables: Slice cucumbers and bell peppers. Place them in clusters to create a fresh contrast against the other ingredients.
7. Add Nuts and Crackers: Fill in any gaps with nuts and crackers. These add crunch and variety to the board.
8. Include Sweet Elements: Drizzle honey or add a small bowl of fig jam for a sweet touch that complements the savory flavors.
9. Garnish: Finish off your board with fresh basil or mint leaves and optional rosemary sprigs for an aromatic touch.
10. Serve: Place serving utensils nearby, and your Red & Green Christmas Charcuterie Board is ready to be enjoyed!
- Prep Time: 15 minutes
- Cook Time: Total Time:
Nutrition
- Serving Size: Calories:
- Calories: Carbohydrates:
- Protein: Fat: