
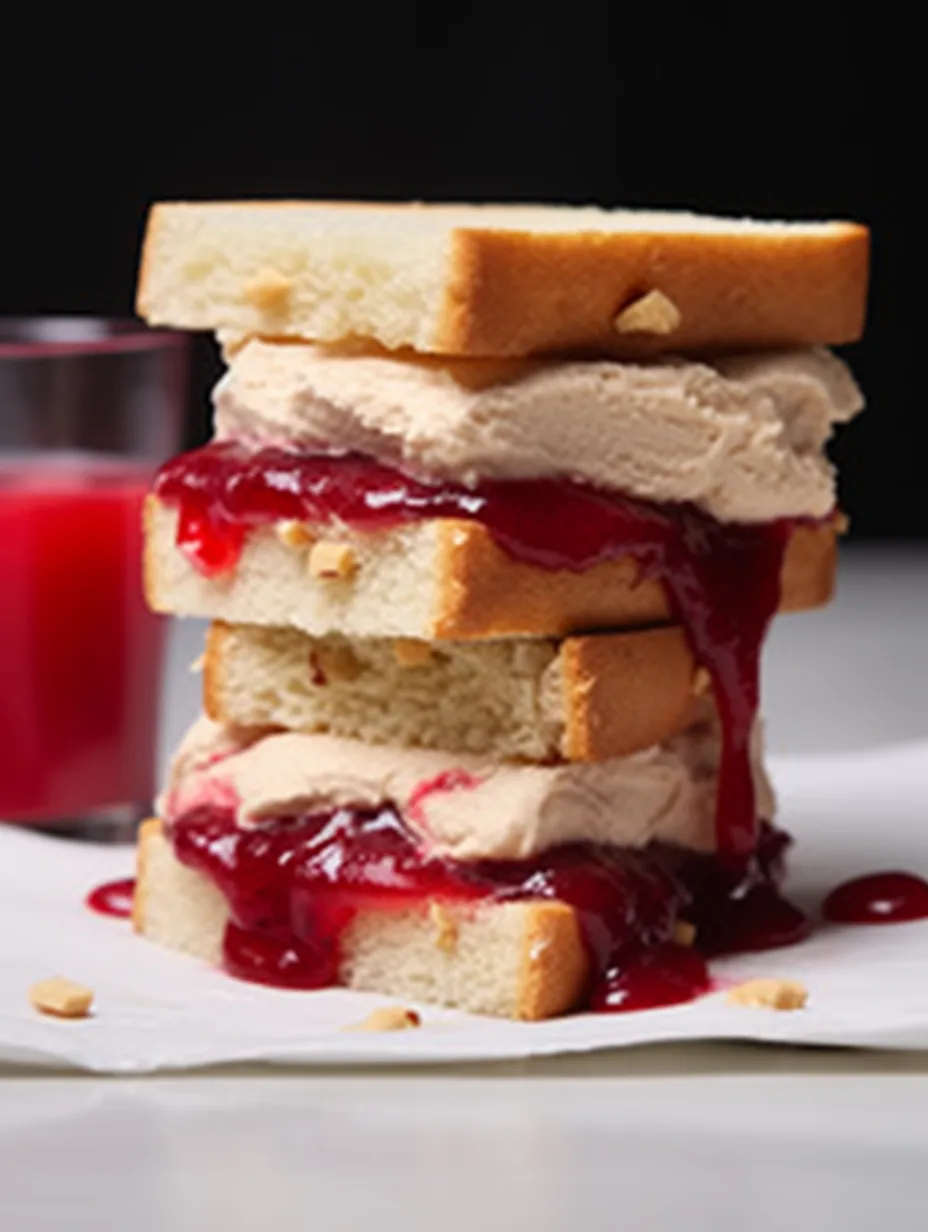
PB&J Ice Cream Sandwiches are an amazing treat perfect for hot summer days or any time you crave a nostalgic dessert. These delightful sandwiches combine creamy ice cream with the classic flavors of peanut butter and jelly, yielding a deliciously satisfying experience. The friendly combination of textures and tastes is not only reminiscent of childhood but elevates ordinary ingredients into a dessert that everyone can enjoy. Whether you’re serving them at a birthday party, a family gathering, or just treating yourself, this recipe will impress.
Imagine biting into a soft cookie, giving way to smooth ice cream, all enveloped by the familiar flavors of your favorite peanut butter and jelly. It’s not just a dessert; it’s a trip down memory lane that invites everyone to partake. Making your own PB&J Ice Cream Sandwiches is simple and fun. In this guide, you will learn why this recipe is a must-try, how to prepare it, and tips on serving it perfectly. Let’s dive into what makes these sandwiches an incredible addition to your dessert repertoire!
Why You’ll Love This Recipe
PB&J Ice Cream Sandwiches bring together a symphony of flavors and textures that work harmoniously to delight your taste buds. Here are a few reasons why you’ll want to make these amazing sandwiches:
1. Nostalgic Flavor: The classic taste of peanut butter and jelly evokes fond memories of childhood.
2. Customizable Options: You can easily switch up the flavors of ice cream, peanut butter, or jelly to suit your preferences.
3. Effortless Preparation: The recipe requires minimal cooking skills, making it accessible for all levels of home cooks.
4. Perfect for Any Occasion: Whether it’s a summer BBQ, birthday party, or an everyday dessert, these sandwiches fit the bill.
5. Fun to Assemble: Creating your own sandwiches can be a fun activity to do with family and friends.
6. Eye-Catching Presentation: These sandwiches look great on any dessert table and can be dressed up with toppings.
Each bite of these PB&J Ice Cream Sandwiches reveals layers of flavor that are both comforting and exciting. You’ll find yourself returning to this recipe again and again!
Preparation and Cooking Time
Creating PB&J Ice Cream Sandwiches is quick and manageable. Here’s a straightforward breakdown of the time involved:
– Preparation Time: 20 minutes
– Chilling Time: 1 hour
– Assembly Time: 10 minutes
These times may vary slightly based on your kitchen setup, but this estimate should help you plan your dessert-making session.
Ingredients
– 1 cup creamy peanut butter
– 1/2 cup granulated sugar
– 1/2 cup packed brown sugar
– 1 egg
– 1 teaspoon vanilla extract
– 1/2 teaspoon baking soda
– 1/4 teaspoon salt
– 2 cups cookie dough (store-bought or homemade)
– 1 cup of your favorite jelly or jam
– 2 cups ice cream (vanilla, chocolate, or your choice)
– Optional: Sprinkles or crushed nuts for rolling edges
Step-by-Step Instructions
Making PB&J Ice Cream Sandwiches entails several easy steps:
1. Preheat the Oven: Preheat your oven to 350°F (175°C) for baking the cookies.
2. Mix Peanut Butter and Sugars: In a large mixing bowl, combine creamy peanut butter, granulated sugar, and brown sugar. Mix until smooth.
3. Add Egg and Vanilla: Beat in the egg and vanilla extract until thoroughly combined.
4. Incorporate Dry Ingredients: Stir in the baking soda and salt, mixing until smooth.
5. Add Cookie Dough: Blend in the cookie dough until well incorporated. Your dough should be pliable and slightly sticky.
6. Form Cookies: Scoop out tablespoon-sized portions of dough and place them on a parchment-lined baking sheet, ensuring they are spaced apart (they will spread).
7. Bake Cookies: Bake in the preheated oven for 10-12 minutes or until the edges are lightly golden.
8. Cool Cookies: Remove from the oven and let them cool on the baking sheet for 5 minutes before transferring to a wire rack to cool completely.
9. Assemble Sandwiches: Once cookies are cool, take one cookie, spread a generous layer of jelly on the bottom, followed by a scoop of ice cream.
10. Top with Another Cookie: Place another cookie on top, pressing it down gently to create a sandwich.
11. Repeat: Continue assembling the remaining sandwiches.
12. Chill: Place assembled sandwiches in the freezer for at least 1 hour to firm up.
How to Serve
To create a memorable experience when serving your PB&J Ice Cream Sandwiches, consider the following tips:
1. Presentation: Arrange the sandwiches on a decorative platter or cake stand to make them visually appealing.
2. Customize with Toppings: Optional, you can roll the edges of the sandwiches in crushed nuts or colored sprinkles for extra flair.
3. Pair with Drinks: Serve alongside cold milk, iced tea, or lemonade for a perfect refreshing combo.
4. Slice for Sharing: Cut the sandwiches in half to offer bite-sized pieces, making it easy for guests to sample more than one flavor.
5. Store Properly: If you have leftovers, keep them in an airtight container in the freezer to maintain freshness.
With these serving suggestions, your PB&J Ice Cream Sandwiches will not only taste amazing but will also impress anyone who gets a chance to enjoy them!
Additional Tips
– Use Quality Ingredients: For the best flavor, opt for high-quality peanut butter and real fruit preserves.
– Experiment with Textures: Try incorporating crunchy peanut butter for an added layer of texture.
– Chill Thoroughly: Make sure to chill your assembled PB&J Ice Cream Sandwiches adequately to ensure the ice cream sets properly before serving.
– Personalize with Add-Ins: Mix in mini chocolate chips or crushed cookies into your ice cream for a unique touch.
– Serve Fresh: For the best experience, serve sandwiches right after chilling, so the cookies remain soft and the ice cream is at its best.
Recipe Variation
Feel free to switch things up! Here are a few variations to try:
1. Different Ice Cream Flavors: Instead of vanilla, use strawberry, cookies and cream, or even mint chocolate chip ice cream.
2. Jelly Alternatives: Swap out grape jelly for raspberry or even a tangy lemon curd for a refreshing twist.
3. Granola Crunch: Add granola or crushed pretzels between the ice cream and jelly for added crunch.
4. Vegan Option: Use a vegan cookie dough and dairy-free ice cream for a plant-based treat.
5. Chocolate Cookies: Substitute regular cookie dough with chocolate cookie dough for a decadent version of your classic dessert.
Freezing and Storage
– Storage: Keep assembled PB&J Ice Cream Sandwiches in an airtight container in the freezer, where they can last up to two weeks.
– Freezing: If you have leftovers, individually wrap each ice cream sandwich in plastic wrap to keep them fresh and prevent freezer burn.
Special Equipment
To make your PB&J Ice Cream Sandwiches, you might find these tools useful:
– Baking sheets for cookie baking
– Parchment paper for easy cookie removal
– Ice cream scooper for portioning
– Airtight containers for storage
– Spatula for spreading jelly and ice cream
Frequently Asked Questions
Can I make the cookies ahead of time?
Yes, you can prepare the cookies in advance. Store them in an airtight container until you are ready to assemble the sandwiches.
What is the best way to serve these sandwiches?
For an impressive presentation, arrange your PB&J Ice Cream Sandwiches on a rustic platter and sprinkle with colorful toppings.
Can I use homemade ice cream?
Absolutely! Homemade ice cream can enhance the flavor and customize the dessert even further.
Is this recipe suitable for kids?
Yes, this recipe is kid-friendly! Involving children in assembling the sandwiches can also be a fun activity.
How can I make these sandwiches healthier?
You can use whole grain cookie dough and unsweetened nut butter, along with organic jelly options, to reduce added sugars.
Conclusion
PB&J Ice Cream Sandwiches are a delightful blend of nostalgia and modern flavor. They are a fun and easy dessert that can be tailored to suit everyone’s tastes. Whether you’re enjoying these sandwiches on a hot summer day or serving them at a gathering, they are sure to be a hit. So gather your ingredients, let your creativity flow, and treat yourself to this incredible dessert today!
PB&J Ice Cream Sandwiches: An Incredible Ultimate Recipe
- Total Time: 27 minutes
Ingredients
– 1 cup creamy peanut butter
– 1/2 cup granulated sugar
– 1/2 cup packed brown sugar
– 1 egg
– 1 teaspoon vanilla extract
– 1/2 teaspoon baking soda
– 1/4 teaspoon salt
– 2 cups cookie dough (store-bought or homemade)
– 1 cup of your favorite jelly or jam
– 2 cups ice cream (vanilla, chocolate, or your choice)
– Optional: Sprinkles or crushed nuts for rolling edges
Instructions
Making PB&J Ice Cream Sandwiches entails several easy steps:
1. Preheat the Oven: Preheat your oven to 350°F (175°C) for baking the cookies.
2. Mix Peanut Butter and Sugars: In a large mixing bowl, combine creamy peanut butter, granulated sugar, and brown sugar. Mix until smooth.
3. Add Egg and Vanilla: Beat in the egg and vanilla extract until thoroughly combined.
4. Incorporate Dry Ingredients: Stir in the baking soda and salt, mixing until smooth.
5. Add Cookie Dough: Blend in the cookie dough until well incorporated. Your dough should be pliable and slightly sticky.
6. Form Cookies: Scoop out tablespoon-sized portions of dough and place them on a parchment-lined baking sheet, ensuring they are spaced apart (they will spread).
7. Bake Cookies: Bake in the preheated oven for 10-12 minutes or until the edges are lightly golden.
8. Cool Cookies: Remove from the oven and let them cool on the baking sheet for 5 minutes before transferring to a wire rack to cool completely.
9. Assemble Sandwiches: Once cookies are cool, take one cookie, spread a generous layer of jelly on the bottom, followed by a scoop of ice cream.
10. Top with Another Cookie: Place another cookie on top, pressing it down gently to create a sandwich.
11. Repeat: Continue assembling the remaining sandwiches.
12. Chill: Place assembled sandwiches in the freezer for at least 1 hour to firm up.
- Prep Time: 15 minutes
- Cook Time: 12 minutes
Nutrition
- Serving Size: 12 sandwiches
- Calories: 300 kcal per sandwich
- Fat: 15g
- Protein: 5g