
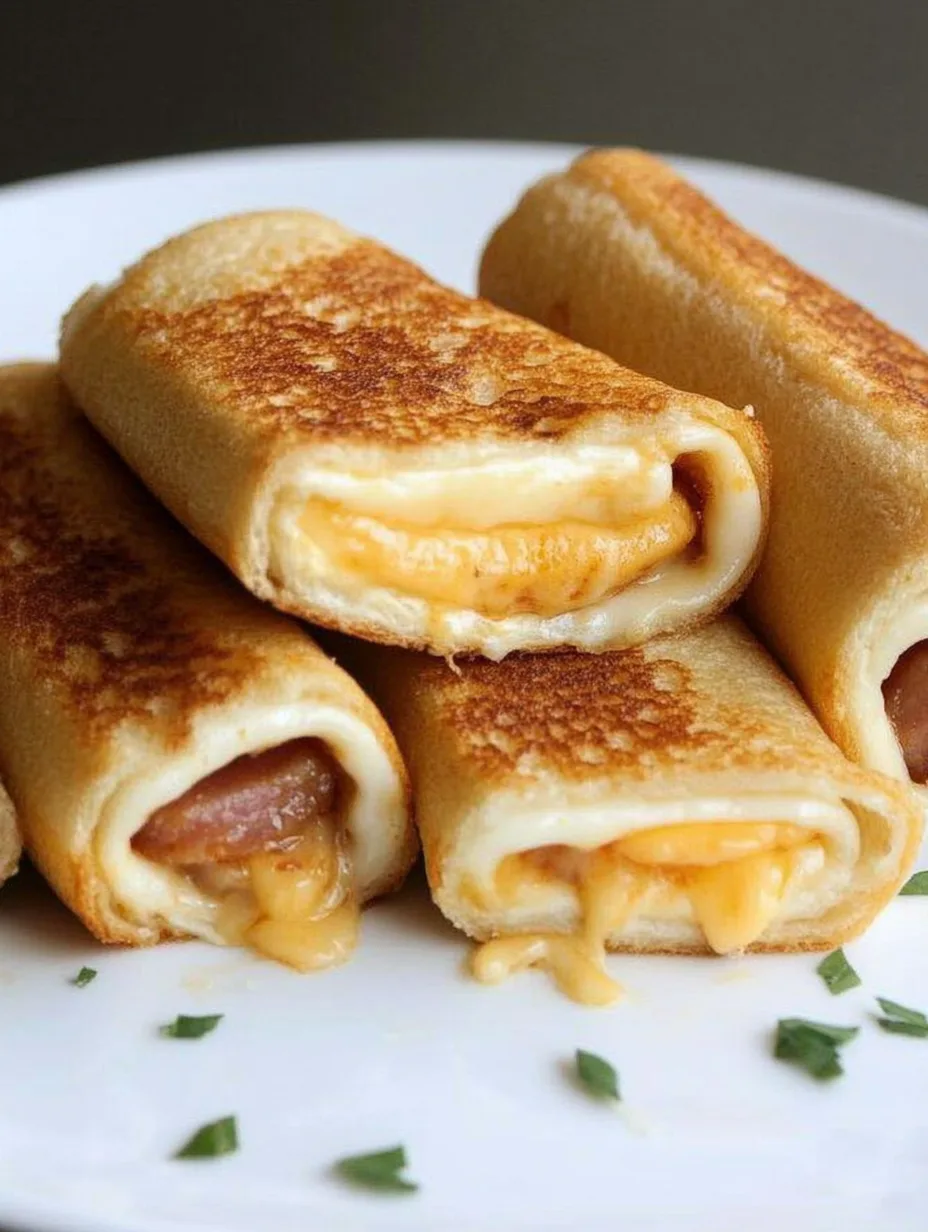
Grilled Cheese Roll Ups are the perfect comfort food that everyone loves. These delightful treats take the classic grilled cheese sandwich to the next level by transforming them into bite-sized roll-ups that are fun to make and even more fun to eat. With their crispy exterior and gooey cheese center, they are a delicious snack, appetizer, or even a main dish that pleases all ages. Plus, they are quick to prepare, making them an ideal choice for busy weeknights or spontaneous gatherings.
If you’ve ever craved a classic grilled cheese but wanted a new twist, you’ve found your answer with Grilled Cheese Roll Ups. This innovative recipe allows you to enjoy all the flavors of your childhood while providing a modern, fun twist that elevates it beyond the typical sandwich. Kids love them, making it a fantastic option for family meals.
In this article, you’ll discover why Grilled Cheese Roll Ups are so beloved, the simplicity of their preparation, and how to serve these delectable bites. Whether you’re a seasoned chef or a kitchen newbie, this recipe is designed to bring joy and satisfaction to your table. Let’s dive into the mouthwatering world of Grilled Cheese Roll Ups and talk about why they might just become your new favorite dish!
Why You’ll Love This Recipe
Grilled Cheese Roll Ups are an extraordinary way to enjoy a beloved classic. Here are some reasons why you’ll adore this recipe:
1. Easy to Make: The roll-up technique simplifies the process, making it perfect for beginners.
2. Customizable: You can easily switch up the ingredients—add your favorite cheeses or even some extra fillings like ham or vegetables.
3. Kid-Friendly: Kids will love the fun shape and ooey-gooey cheese, making mealtime exciting.
4. Quick Cooking Time: Ready in under 20 minutes, they’re ideal for quick dinners or snacks.
5. Perfect for Parties: Serve them at gatherings, and watch them disappear! They’re a hit at any social event.
6. Delicious Dipping Options: Pair them with marinara sauce, ranch dressing, or any of your favorite dipping sauces for added flavor.
With all these fantastic traits, it’s no wonder Grilled Cheese Roll Ups have become a household favorite!
Preparation and Cooking Time
Creating Grilled Cheese Roll Ups is not a time-consuming task. Here’s the breakdown of how long it will take:
– Preparation Time: 10 minutes
– Cooking Time: 10 minutes
– Total Time: 20 minutes
This quick preparation makes Grilled Cheese Roll Ups a convenient choice for any meal of the day!
Ingredients
– 6 slices of bread (white or whole grain)
– 6 slices of cheese (American, cheddar, or your preferred variety)
– 3 tablespoons of butter (softened)
– Optional: Deli meats (ham, turkey), vegetables (spinach, tomatoes), or seasonings (garlic powder, herbs)
Step-by-Step Instructions
Making Grilled Cheese Roll Ups is quick and straightforward. Follow these easy steps:
1. Flatten the Bread: Using a rolling pin or your hands, flatten each slice of bread to about ¼ inch thickness.
2. Add Cheese: Place a slice of cheese on one side of the flattened bread slice. Feel free to add optional fillings if desired.
3. Roll It Up: Starting from the cheese side, tightly roll the bread until it forms a cylinder.
4. Butter the Outside: Spread a light layer of softened butter on the outside of each roll-up.
5. Heat the Pan: In a skillet over medium heat, add the rolled-up sandwiches seam-side down.
6. Cook: Cook for about 2-3 minutes per side or until golden brown and crispy. Ensure the cheese melts inside.
7. Remove and Cool: Once cooked, remove the roll-ups from the pan and let them cool for a minute.
8. Slice and Serve: Cut each roll-up into bite-sized pieces and serve warm for best results.
These straightforward steps will guide you in creating delightful Grilled Cheese Roll Ups that everyone will enjoy!
How to Serve
Presenting Grilled Cheese Roll Ups beautifully can enhance the dining experience. Here are a few serving suggestions:
1. Plating: Arrange the roll-ups on a platter to create an appealing display.
2. Dipping Sauces: Offer a variety of dipping options such as ketchup, marinara sauce, or a creamy ranch for extra flavor.
3. Garnish: Sprinkle some fresh herbs or crushed chili flakes on top for a color contrast and added flavor.
4. Side Dishes: Pair with a light salad or soup to create a complete meal.
5. Enjoy Fresh: These roll-ups are best enjoyed hot right after cooking to ensure the cheese is melted and gooey.
These tips will transform your Grilled Cheese Roll Ups into a delightful culinary experience, making them a sideshow attraction at your next meal or gathering. Whether for an everyday lunch or a fun snack, they are sure to satisfy every cheese lover!
—
Grilled Cheese Roll Ups are not just a meal; they are a delightful adventure in cooking that invites creativity and fun into the kitchen. So gather your ingredients and embark on this cheesy delight that will surely become a staple in your home. Enjoy every bite of your Grilled Cheese Roll Ups!
Additional Tips
– Experiment with Cheeses: Try mixing different cheeses like mozzarella for stretchiness or pepper jack for a spicy kick.
– Add Fresh Herbs: Incorporating fresh herbs like basil or chives can elevate the flavor.
– Try Whole Grain Bread: For a healthier option, use whole grain bread which adds a nutty flavor and extra nutrients.
Recipe Variation
Feel free to get creative with these variations:
1. Caprese Roll Ups: Add slices of fresh tomato and basil with mozzarella cheese for a fresh Italian twist.
2. BBQ Chicken Roll Ups: Include shredded cooked chicken mixed with BBQ sauce along with cheese for a smoky flavor.
3. Spicy Jalapeño Roll Ups: Add sliced jalapeños or a sprinkle of chipotle seasoning to give your roll ups some heat.
Freezing and Storage
– Storage: Store leftover Grilled Cheese Roll Ups in an airtight container in the refrigerator for up to 3 days.
– Freezing: You can freeze them before cooking. Wrap each roll-up tightly in plastic wrap and freeze for up to 1 month. When ready to cook, simply thaw in the fridge before following the cooking instructions.
Special Equipment
To assemble and cook your Grilled Cheese Roll Ups, you will need:
– Rolling pin: To flatten the bread easily.
– Non-stick skillet: For even cooking and to prevent sticking.
– Spatula: To flip the roll-ups without breaking them apart.
Frequently Asked Questions
Can I use gluten-free bread?
Yes, gluten-free bread works well for this recipe. Just ensure it is sturdy enough to hold the filling.
What can I do if my roll-ups are falling apart?
Make sure to roll them tightly and secure with a toothpick if necessary. Cooking on a seam side down first also helps maintain their shape.
Can I bake these instead of frying?
Absolutely! Preheat your oven to 400°F (200°C) and bake for about 15-20 minutes until crispy and golden brown.
How can I make these healthier?
Use whole grain bread, low-fat cheese, and add spinach or other healthy veggies for a nutritious boost.
Conclusion
Grilled Cheese Roll Ups are a classic comfort food reimagined into a fun and innovative treat. This easy recipe is not just delicious; it encourages creativity and experimentation in the kitchen. With a variety of filling options and dipping sauces, these roll-ups promise to delight both kids and adults alike. Whether enjoyed as a snack, appetizer, or main dish, they are sure to become a favorite in your household. So gather your ingredients, unleash your culinary creativity, and enjoy every cheesy bite of your Grilled Cheese Roll Ups!

Grilled Cheese Roll Ups: An Incredible Ultimate Recipe
- Total Time: 25 minutes
Ingredients
– 6 slices of bread (white or whole grain)
– 6 slices of cheese (American, cheddar, or your preferred variety)
– 3 tablespoons of butter (softened)
– Optional: Deli meats (ham, turkey), vegetables (spinach, tomatoes), or seasonings (garlic powder, herbs)
Instructions
Making Grilled Cheese Roll Ups is quick and straightforward. Follow these easy steps:
1. Flatten the Bread: Using a rolling pin or your hands, flatten each slice of bread to about ¼ inch thickness.
2. Add Cheese: Place a slice of cheese on one side of the flattened bread slice. Feel free to add optional fillings if desired.
3. Roll It Up: Starting from the cheese side, tightly roll the bread until it forms a cylinder.
4. Butter the Outside: Spread a light layer of softened butter on the outside of each roll-up.
5. Heat the Pan: In a skillet over medium heat, add the rolled-up sandwiches seam-side down.
6. Cook: Cook for about 2-3 minutes per side or until golden brown and crispy. Ensure the cheese melts inside.
7. Remove and Cool: Once cooked, remove the roll-ups from the pan and let them cool for a minute.
8. Slice and Serve: Cut each roll-up into bite-sized pieces and serve warm for best results.
These straightforward steps will guide you in creating delightful Grilled Cheese Roll Ups that everyone will enjoy!
- Prep Time: 15 minutes
- Cook Time: 10 minutes
Nutrition
- Serving Size: 6 roll-ups
- Calories: 300 kcal
- Fat: 15g
- Protein: 12g