
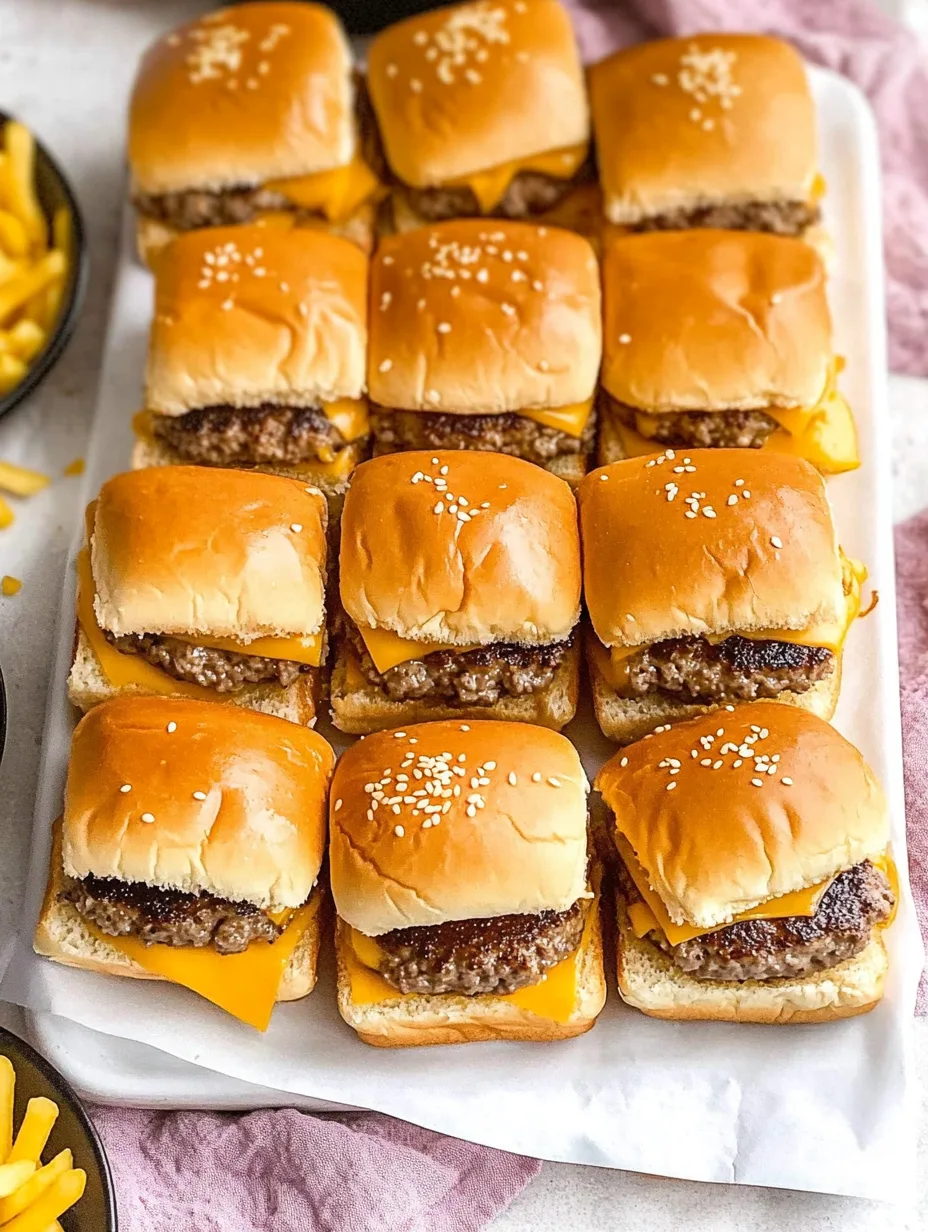
Cheeseburger sliders are an incredible twist on a classic favorite. Ideal for parties, game days, or casual get-togethers, these delightful mini burgers pack all the flavor of a traditional cheeseburger into a bite-sized version. The combination of gooey cheese, juicy meat, and soft slider buns creates a taste sensation that is simply irresistible. Picture a perfectly grilled patty topped with your favorite cheese, nestled between two fluffy buns — it’s hard to resist. Whether served at backyard BBQs or as a fun snack for movie night, cheeseburger sliders are certain to delight guests of all ages.
What makes cheeseburger sliders truly special is their versatility. You can customize them with various toppings and sauces to suit everyone’s tastes. From classic ketchup and mustard to gourmet additions like avocado and spicy aioli, the possibilities are endless. Furthermore, the slider format makes them easy to eat and perfect for sharing, which elevates the experience of enjoying this amazing dish.
This guide will walk you through the steps to create incredible cheeseburger sliders that will have everyone coming back for seconds. We’ll cover everything from preparation time to serving suggestions, ensuring that you can make these sliders an exceptional treat for any occasion. Let’s dive into the wonderful world of cheeseburger sliders!
Why You’ll Love This Recipe
There are plenty of reasons to love cheeseburger sliders. By opting for this slightly smaller version of a traditional burger, you can indulge while still leaving room for more. Here are some of the top reasons you’ll appreciate this recipe:
1. Quick and Easy: With straightforward steps, cheeseburger sliders can come together in no time, making them perfect for unexpected guests.
2. Customizable Flavors: You can adapt the recipe according to individual preferences, catering to meat lovers and vegetarians alike.
3. Great for Sharing: Their small size encourages sharing, making them ideal for any gathering or party.
4. Crispy and Cheesy: The combination of crispy edges and melted cheese creates a delicious texture that is extremely satisfying.
5. A Kid Favorite: Children love sliders, making them a fantastic option for family gatherings or playdates.
6. Make Ahead Option: You can prepare the ingredients in advance and simply assemble and bake them when guests arrive.
These points highlight exactly why cheeseburger sliders are such a hit. Not only are they delicious, but they also fit perfectly into a variety of occasions.
Preparation and Cooking Time
Creating cheeseburger sliders doesn’t take long and can easily fit into your schedule. Here’s a breakdown of the total time needed:
– Preparation Time: 15 minutes
– Cooking Time: 15-20 minutes
– Total Time: Approximately 30-35 minutes
This quick timeline is ideal for whipping up sliders, especially when hosting a gathering or craving a delicious snack.
Ingredients
– 1 pound ground beef (80/20 blend recommended)
– 1 teaspoon garlic powder
– 1 teaspoon onion powder
– 1 teaspoon salt
– ½ teaspoon black pepper
– 12 slider buns
– 6 slices of cheddar cheese
– Optional toppings:
– Lettuce
– Tomato slices
– Pickles
– Ketchup
– Mustard
– Mayonnaise
Step-by-Step Instructions
Follow these simple steps to create your amazing cheeseburger sliders:
1. Preheat the Oven: Begin by preheating your oven to 350°F (175°C).
2. Mix the Beef: In a large bowl, combine the ground beef with garlic powder, onion powder, salt, and black pepper. Mix gently until just combined.
3. Form Patties: Divide the beef mixture into 12 equal portions and form them into small patties. They should be slightly larger than the slider buns since they will shrink while cooking.
4. Cook the Patties: Heat a large skillet over medium-high heat and add the patties. Cook for about 3-4 minutes per side until browned and cooked through.
5. Add Cheese: In the last minute of cooking, place a slice of cheese on each patty, covering the skillet to help it melt.
6. Prepare Buns: While the patties are cooking, slice the slider buns in half. Place the bottom halves on a baking sheet.
7. Assemble the Sliders: Once the cheese is melted, place each patty on a bottom bun half. If desired, add lettuce, tomato, and pickles on top of the cheese.
8. Cover and Bake: Place the top halves of the buns on each assembled slider. Cover the baking sheet with aluminum foil and bake for about 5-7 minutes to warm the buns.
9. Serve: Remove from the oven, and serve with your choice of condiments!
How to Serve
Presenting your cheeseburger sliders well can enhance the overall experience. Here are some tips for serving them perfectly:
1. Plating: Use a large platter to arrange the sliders neatly. Consider garnishing with extra toppings, such as pickles or small bowls of sauces on the side.
2. Diverse Toppings: Offer a variety of toppings and condiments so guests can customize their sliders to their liking.
3. Beverage Pairing: Serve with refreshing drinks such as iced tea, lemonade, or craft beers to elevate the meal.
4. Side Dishes: Complement your sliders with sides like fries, onion rings, or a fresh salad for a complete meal.
By focusing on presentation and customization, you’ll create a memorable cheeseburger slider experience that your friends and family will rave about. Enjoy these sliders at your next gathering, and watch them become an instant hit!
Additional Tips
– Use Quality Meat: For the best flavor, opt for a higher fat content ground beef, such as an 80/20 blend. This will ensure juiciness in your sliders.
– Don’t Overwork the Meat: Mix the beef just enough to incorporate the seasonings. Over-mixing can lead to tough patties.
– Preheat Your Skillet: Ensure your skillet is hot before adding the patties. This helps achieve a nice sear and better flavor.
– Experiment with Cheese: While cheddar is classic, try pepper jack or gouda for a different flavor.
– Toast the Buns: Lightly toasting the buns before assembling adds texture and prevents them from becoming soggy.
Recipe Variation
Feel free to get creative! Here are a few delicious variations to consider:
1. Bacon Cheeseburger Sliders: Add crispy bacon on top of each patty for that classic bacon cheeseburger flavor.
2. Veggie Sliders: Replace the ground beef with a mix of black beans and quinoa for plant-based sliders that everyone will love.
3. BBQ Sliders: Add your favorite BBQ sauce on the patties before placing the cheese for a smoky twist.
4. Mini Cheeseburger Meatballs: Instead of patties, roll the meat into small meatballs and use toothpicks for easy serving.
Freezing and Storage
– Storage: Keep the assembled sliders covered in the refrigerator. They are best eaten fresh but can last 2-3 days.
– Freezing: You can freeze the cooked sliders without toppings. Wrap them tightly in foil or a freezer bag. They will last up to 3 months.
– Reheating: To reheat, place the sliders in the oven at 350°F (175°C) for about 10 minutes or until heated through. Add cheese during reheating if using.
Special Equipment
To make your cheeseburger sliders, you might find these tools helpful:
– Skillet or Griddle: For cooking the patties to perfection.
– Baking Sheet: For assembling and warming the sliders in the oven.
– Meat Thermometer: Optional, but useful for ensuring your patties are cooked to the right temperature.
– Spatula: For flipping and removing patties easily.
Frequently Asked Questions
Can I make cheeseburger sliders ahead of time?
Yes, you can prepare the beef mixture and form the patties in advance. Store them in the refrigerator until you’re ready to cook.
What if I don’t have slider buns?
You can use regular burger buns, cut them down to size, or even use pita bread or lettuce wraps for a low-carb option.
Can I serve the sliders cold?
While best served warm, leftovers can be eaten cold or at room temperature, making them ideal for lunches.
What are some topping ideas?
Consider adding sautéed onions, jalapeños, or gourmet sauces like chipotle mayo or garlic aioli for a unique spin.
Conclusion
Cheeseburger sliders are an exciting way to enjoy the classic burger experience in a bite-sized format. Their versatility allows for endless customization whether you are serving them at a party, a barbecue, or a casual family gathering. With just a few simple ingredients and steps, you can create an irresistible dish that will leave everyone wanting more. So gather your friends and family, and make sure to serve these delightful sliders at your next get-together!
Cheeseburger Sliders: The Amazing Ultimate Recipe You Need
- Total Time: 35 minutes
Ingredients
– 1 pound ground beef (80/20 blend recommended)
– 1 teaspoon garlic powder
– 1 teaspoon onion powder
– 1 teaspoon salt
– ½ teaspoon black pepper
– 12 slider buns
– 6 slices of cheddar cheese
– Optional toppings:
– Lettuce
– Tomato slices
– Pickles
– Ketchup
– Mustard
– Mayonnaise
Instructions
Follow these simple steps to create your amazing cheeseburger sliders:
1. Preheat the Oven: Begin by preheating your oven to 350°F (175°C).
2. Mix the Beef: In a large bowl, combine the ground beef with garlic powder, onion powder, salt, and black pepper. Mix gently until just combined.
3. Form Patties: Divide the beef mixture into 12 equal portions and form them into small patties. They should be slightly larger than the slider buns since they will shrink while cooking.
4. Cook the Patties: Heat a large skillet over medium-high heat and add the patties. Cook for about 3-4 minutes per side until browned and cooked through.
5. Add Cheese: In the last minute of cooking, place a slice of cheese on each patty, covering the skillet to help it melt.
6. Prepare Buns: While the patties are cooking, slice the slider buns in half. Place the bottom halves on a baking sheet.
7. Assemble the Sliders: Once the cheese is melted, place each patty on a bottom bun half. If desired, add lettuce, tomato, and pickles on top of the cheese.
8. Cover and Bake: Place the top halves of the buns on each assembled slider. Cover the baking sheet with aluminum foil and bake for about 5-7 minutes to warm the buns.
9. Serve: Remove from the oven, and serve with your choice of condiments!
- Prep Time: 15 minutes
- Cook Time: 20 minutes
Nutrition
- Serving Size: 12 sliders
- Calories: 250 kcal
- Fat: 13g
- Protein: 12g