
Blue and White Oreo Cake is a delightful dessert that will leave you and your guests in awe. This incredible cake features layers of rich flavors and visually stunning colors, making it perfect for birthdays, celebrations, or just a sweet treat at home. The combination of Oreo cookie crumbles, creamy frosting, and a beautiful blue hue creates a dessert that not only tastes amazing but also looks fabulous on any table.
Imagine cutting into this cake and revealing its gorgeous layers, each bite filled with creamy goodness and the crunch of Oreo. This dessert is more than just a cake; it’s an experience that brings joy and excitement. With its eye-catching presentation and delicious flavors, the Blue and White Oreo Cake is bound to become a favorite in your household.
If you’re ready to impress your family and friends, this recipe will guide you through creating a Blue and White Oreo Cake that is both easy to make and utterly delightful. Let’s explore what makes this cake so special and how to prepare it step by step!
Why You’ll Love This Recipe
The Blue and White Oreo Cake combines flavor and visual appeal in a way that will make your taste buds sing. Here are just a few reasons why you’ll absolutely love this recipe:
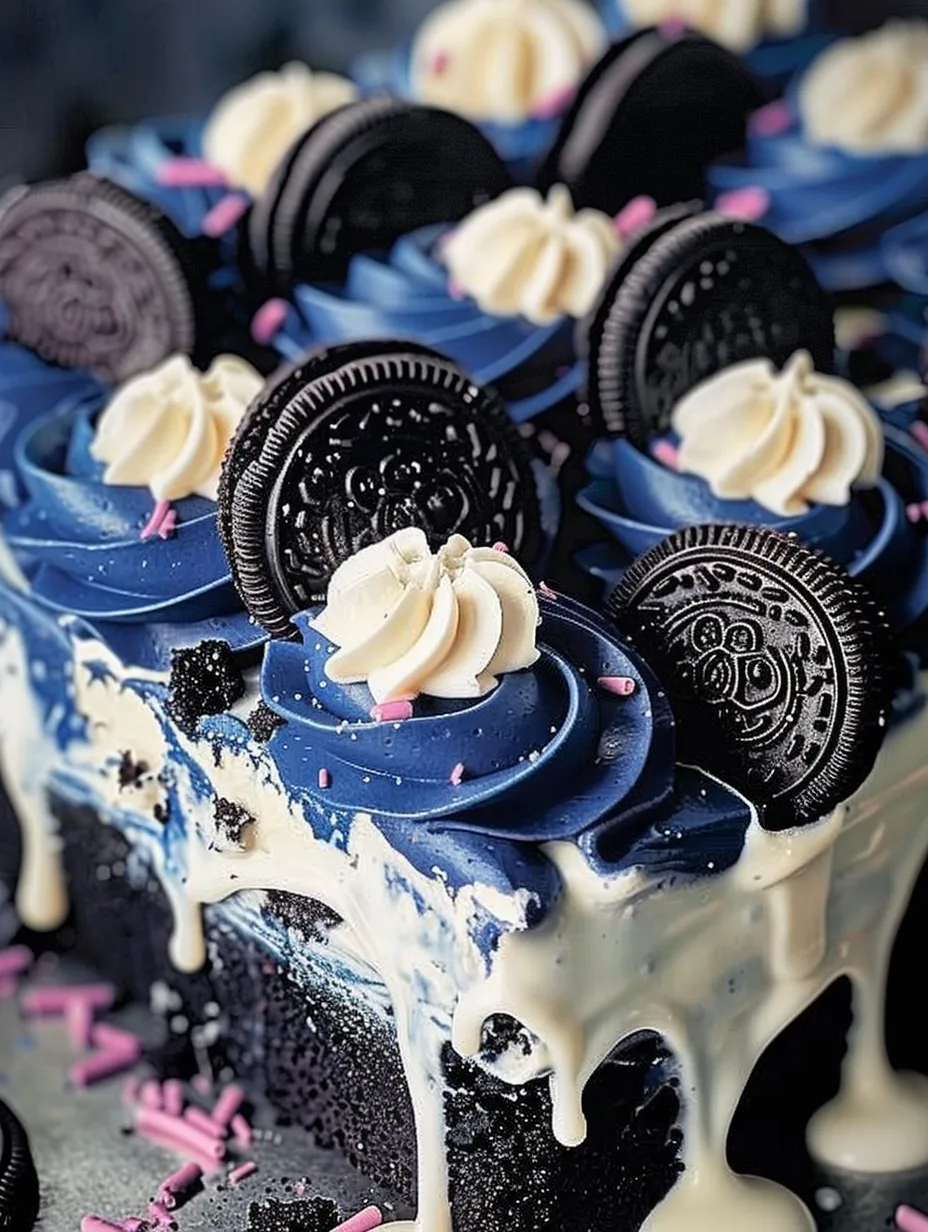
1. Eye-Catching Appearance: The vibrant blue frosting and white layers make this cake a standout centerpiece at any event.
2. Delicious Flavor: The combination of rich vanilla, cream, and Oreo cookies creates a flavor profile that is simply irresistible.
3. Simple Ingredients: Most of the ingredients needed for this cake are pantry staples, making it easy to whip up whenever a craving strikes.
4. Customizable: You can easily adjust the colors and flavors to fit any occasion, making this cake truly versatile.
5. Perfect for Any Occasion: Whether it’s a birthday party, baby shower, or casual family dinner, this cake fits right in.
6. Easy to Follow: The step-by-step instructions ensure that even novice bakers can create a stunning cake.
With these factors in mind, it’s clear why the Blue and White Oreo Cake is a must-try recipe for anyone who enjoys baking or simply wants to indulge in a delicious dessert!
Preparation and Cooking Time
Creating the Blue and White Oreo Cake will require about 1 hour and 30 minutes in total. Here’s a breakdown of the time involved:
– Preparation Time: 30 minutes
– Cooking Time: 25-30 minutes
– Cooling Time: 30 minutes
– Frosting Time: 15 minutes
These times may vary based on your experience and kitchen equipment, but they provide a good estimate for planning your baking session.
Ingredients
– 2 cups all-purpose flour
– 1 ½ cups granulated sugar
– ½ cup unsweetened cocoa powder
– 1 cup whole milk
– ½ cup vegetable oil
– 3 large eggs
– 1 tablespoon baking powder
– ¼ teaspoon salt
– 1 tablespoon vanilla extract
– 1 cup crushed Oreo cookies
– 2 cups heavy whipping cream
– 1 cup powdered sugar
– Blue food coloring
– Crushed Oreo cookies for garnish (optional)
Step-by-Step Instructions
Creating the Blue and White Oreo Cake is straightforward if you follow these steps:
1. Preheat Your Oven: Set your oven to 350°F (175°C). Grease and flour two 9-inch round cake pans.
2. Mix Dry Ingredients: In a large bowl, sift together the flour, granulated sugar, cocoa powder, baking powder, and salt.
3. Combine Wet Ingredients: In another bowl, whisk together the milk, vegetable oil, eggs, and vanilla extract until well combined.
4. Combine Mixtures: Gradually add the wet ingredients to the dry ingredients, stirring until smooth and no lumps remain.
5. Add Cookies: Fold in the crushed Oreo cookies for that delightful crunch.
6. Divide Batter: Pour the batter evenly into the prepared cake pans.
7. Bake: Place in the preheated oven and bake for 25-30 minutes or until a toothpick inserted in the center comes out clean.
8. Cool: Remove from the oven and allow the cakes to cool in their pans for about 10 minutes. Then, gently transfer them to wire racks to cool completely.
9. Prepare the Frosting: In a large bowl, whip the heavy cream until stiff peaks form. Gradually add the powdered sugar and mix until well combined. Add blue food coloring to achieve your desired shade.
10. Assemble the Cake: Once the cakes are completely cool, place one layer on a serving platter. Spread a layer of blue frosting on top, then add the second layer of cake. Frost the top and sides of the entire cake with the blue frosting.
11. Garnish: For an extra touch, sprinkle crushed Oreo cookies on top of the cake.
These simple steps will guide you in creating a stunning Blue and White Oreo Cake that is sure to impress!
How to Serve
To elevate the experience of serving the Blue and White Oreo Cake, consider the following tips:
1. Presentation: Use a decorative cake stand to enhance the cake’s visual appeal. A clean, simple design can make it look even more elegant.
2. Accompaniments: Serve with fresh berries, whipped cream, or a scoop of vanilla ice cream to complement the flavors.
3. Slice Size: Offer generous slices, but encourage guests to go back for seconds. Smaller portions may entice them to have another bite!
4. Beverage Pairing: This cake pairs wonderfully with coffee, milk, or a refreshing fruit punch, making it a versatile dessert option.
By considering how you present and serve the Blue and White Oreo Cake, you can create a memorable experience that delights your guests and makes the occasion special. Enjoy this amazing dessert and the smiles it brings!
Additional Tips
– Use Quality Oreos: For the best flavor, opt for regular Oreos instead of off-brand cookies. Their unique creaminess enhances the cake.
– Chill the Frosting: For easier application, refrigerate the frosting for about 10 minutes before using it. This will make it easier to spread.
– Layering Technique: To ensure even layers, level off the tops of the cakes with a serrated knife before frosting.
– Test for Doneness: Besides using a toothpick, gently press the top of the cake; it should spring back if it’s done.
– Be Creative with Garnishes: Consider using edible glitter or sprinkles in addition to crushed Oreos to add more flair.
Recipe Variation
Feel free to mix things up with these variations:
1. Color Swaps: Use different food coloring shades for a unique look. Consider pastel colors for a spring theme or vibrant hues for a birthday party.
2. Flavored Frosting: Add a hint of almond or mint extract to the frosting for an exciting flavor twist.
3. Oreo Variants: Experiment with different Oreo flavors like mint or peanut butter for a unique taste.
4. Layered Cake: Create a multi-layer cake by baking additional cake layers and alternating frosting colors between layers.
Freezing and Storage
– Storage: Keep the Blue and White Oreo Cake covered in the refrigerator. It will stay fresh for about 4-5 days.
– Freezing: To freeze, wrap the cake tightly in plastic wrap and then in aluminum foil. It can last for up to 3 months in the freezer. Thaw it in the refrigerator before serving.
Special Equipment
Having the right tools will streamline your baking process:
– Mixing Bowls: Use a variety of sizes for mixing and preparing ingredients.
– Electric Mixer: A stand or hand mixer makes whipping cream and batter much easier.
– Cake Pans: Two 9-inch round cake pans are essential for baking the layers evenly.
– Offset Spatula: This tool helps in spreading frosting smoothly on the cake.
– Cooling Racks: These are crucial for cooling the cakes completely before frosting.
Frequently Asked Questions
What if my cake layers are domed?
You can level the tops with a serrated knife for a flat surface. This makes stacking and frosting easier.
Can I make this cake gluten-free?
Yes, substitute all-purpose flour with a gluten-free flour blend. Be sure to check the other ingredients for gluten content.
How do I store leftover cake?
Wrap the leftover cake in plastic wrap or store it in an airtight container in the refrigerator.
Can I make this cake in advance?
Absolutely! You can bake the cake a day ahead and store it in the refrigerator. Frost it just before serving for the best texture.
Is there a way to make the cake less sweet?
You can reduce the amount of powdered sugar in the frosting or use dark chocolate Oreos to balance the sweetness.
Conclusion
The Blue and White Oreo Cake is more than just a dessert; it’s a visual and flavor experience that will impress anyone who tries it. With its creamy layers and delightful crunch, this cake is perfect for any celebration or casual gathering. By following the recipe and tips provided, you can create a stunning masterpiece that will be the highlight of your event. Enjoy making this cake and the joy it brings to your table!

Blue and White Oreo Cake: An Amazing Ultimate Recipe
- Total Time: 48 minute
Ingredients
– 2 cups all-purpose flour
– 1 ½ cups granulated sugar
– ½ cup unsweetened cocoa powder
– 1 cup whole milk
– ½ cup vegetable oil
– 3 large eggs
– 1 tablespoon baking powder
– ¼ teaspoon salt
– 1 tablespoon vanilla extract
– 1 cup crushed Oreo cookies
– 2 cups heavy whipping cream
– 1 cup powdered sugar
– Blue food coloring
– Crushed Oreo cookies for garnish (optional)
Instructions
Creating the Blue and White Oreo Cake is straightforward if you follow these steps:
1. Preheat Your Oven: Set your oven to 350°F (175°C). Grease and flour two 9-inch round cake pans.
2. Mix Dry Ingredients: In a large bowl, sift together the flour, granulated sugar, cocoa powder, baking powder, and salt.
3. Combine Wet Ingredients: In another bowl, whisk together the milk, vegetable oil, eggs, and vanilla extract until well combined.
4. Combine Mixtures: Gradually add the wet ingredients to the dry ingredients, stirring until smooth and no lumps remain.
5. Add Cookies: Fold in the crushed Oreo cookies for that delightful crunch.
6. Divide Batter: Pour the batter evenly into the prepared cake pans.
7. Bake: Place in the preheated oven and bake for 25-30 minutes or until a toothpick inserted in the center comes out clean.
8. Cool: Remove from the oven and allow the cakes to cool in their pans for about 10 minutes. Then, gently transfer them to wire racks to cool completely.
9. Prepare the Frosting: In a large bowl, whip the heavy cream until stiff peaks form. Gradually add the powdered sugar and mix until well combined. Add blue food coloring to achieve your desired shade.
10. Assemble the Cake: Once the cakes are completely cool, place one layer on a serving platter. Spread a layer of blue frosting on top, then add the second layer of cake. Frost the top and sides of the entire cake with the blue frosting.
11. Garnish: For an extra touch, sprinkle crushed Oreo cookies on top of the cake.
These simple steps will guide you in creating a stunning Blue and White Oreo Cake that is sure to impress!
- Prep Time: 15 minutes
- Cook Time: 25-30 minutes
Nutrition
- Serving Size: 12
- Calories: 420 kcal
- Fat: 22g
- Protein: 6g