
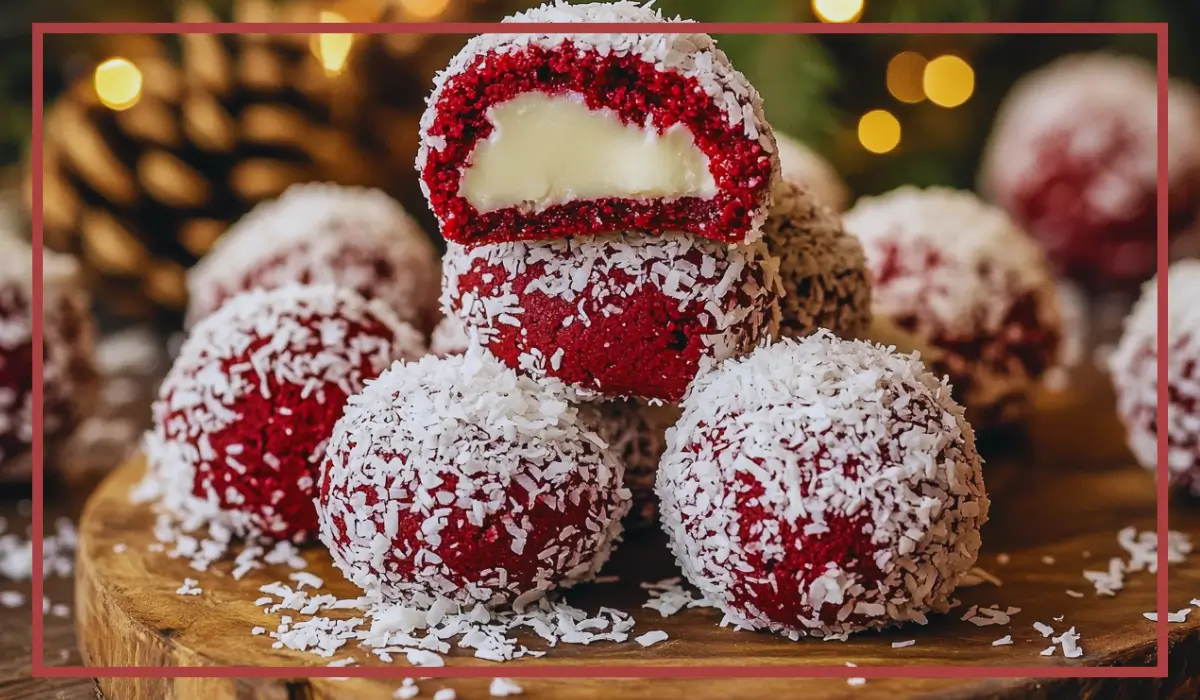
There’s just something magical about red velvet desserts. Maybe it’s the luxurious deep red color, the subtle cocoa flavor, or the velvety soft texture. Whatever it is, red velvet always feels like a treat that’s perfect for special occasions or cozy afternoons with a cup of tea. And when you turn this beloved classic into snowball cookies? Oh, it’s pure joy. These Red Velvet Snowball Cookies are as beautiful as they are delicious—delicate, buttery, and rolled in a dusting of powdered sugar that looks like freshly fallen snow. They’re a total showstopper on any holiday dessert table and just the right size for an indulgent little snack.
I remember the first time I made these cookies for my family. I was determined to whip up a batch of something festive and impressive, so I dove into this recipe with enthusiasm. But in my rush, I forgot one key ingredient: the red food coloring. The cookies tasted incredible, but my family still teases me about my “Beige Velvet” snowballs to this day. Lesson learned! Now, I double-check everything and savor the process of creating these sweet little gems. They’ve since become a holiday tradition, bringing smiles to everyone who tries them.
Why You’ll Love These Red Velvet Snowball Cookies
These cookies are about to become your new favorite go-to for several reasons. First, they’re incredibly easy to make. With just a handful of pantry staples and minimal prep time, you can whip up a batch in no time. Whether you’re a baking pro or a total beginner, this recipe is practically foolproof.
Then there’s the texture: a perfect balance of crumbly, buttery softness with the sweet crunch of powdered sugar coating. The cookies practically melt in your mouth, but just when you think it’s all smooth and creamy, you get a delightful little surprise from the white chocolate chips. These add both texture and a hint of sweetness that complements the subtle cocoa flavor of the cookie dough.
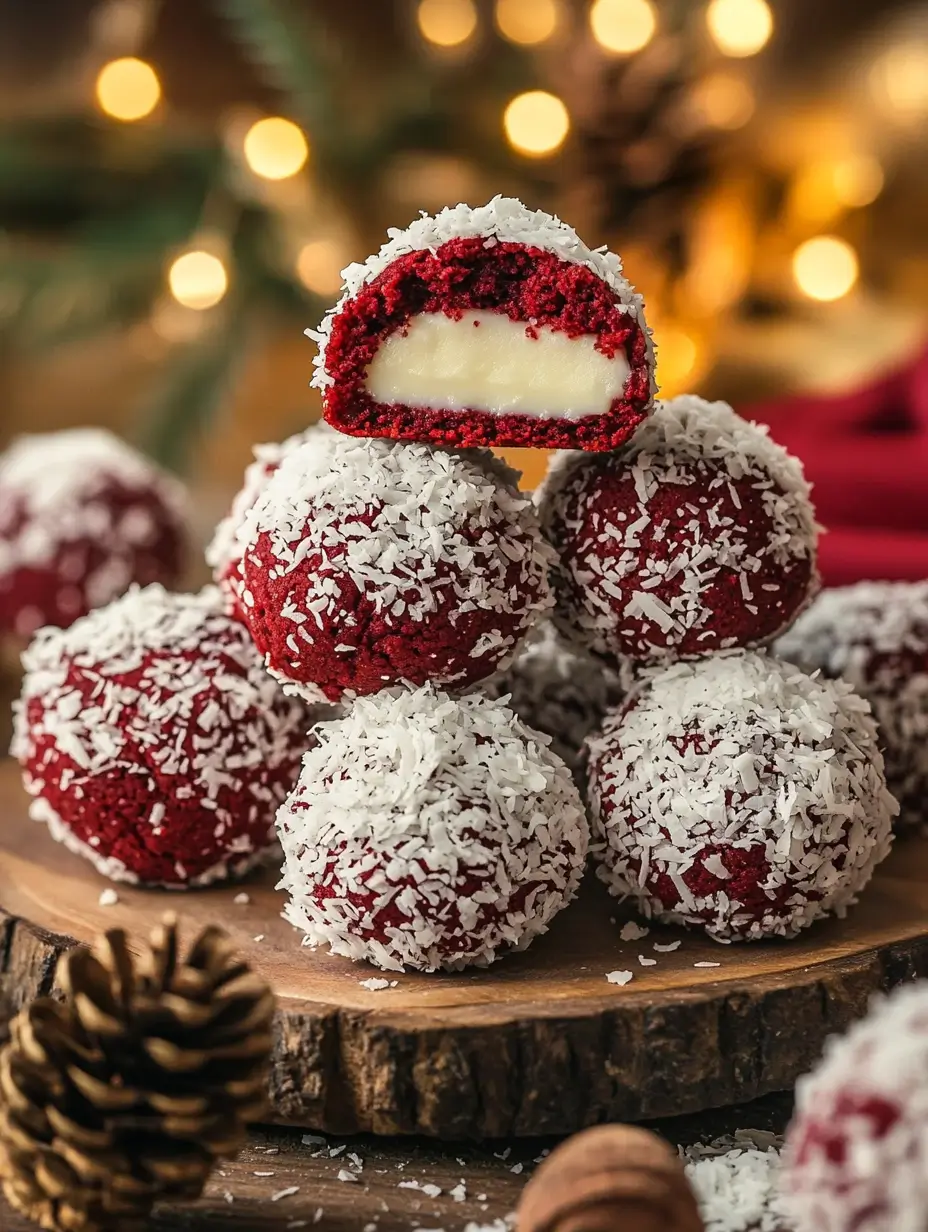
And let’s not forget how festive they look. The vibrant red centers peeking out from under the white powdered sugar make them a holiday favorite, but they’re also great for Valentine’s Day, birthdays, or even just a random Tuesday when you need a pick-me-up.
Preparation Time and Servings Red Velvet Snowball Cookies
Total Time: 30-32 minutes
Preparation Time: 20 minutes
Cooking Time: 10-12 minutes
Servings: Makes about 24 cookies
Nutritional Information (per cookie):
Calories: ~120
Fat: 6g
Carbohydrates: 16g
Protein: 1g
Ingredients
Here’s everything you’ll need to make these festive cookies:
- 1/2 cup (115g) unsalted butter, softened (This is the base of that rich, tender texture.)
- 1/2 cup (60g) powdered sugar (Adds sweetness and helps create that melt-in-your-mouth feel.)
- 1/4 cup (25g) unsweetened cocoa powder (For that signature red velvet hint of chocolate.)
- 1 teaspoon vanilla extract (Enhances the overall flavor and makes everything taste better.)
- 1/4 teaspoon salt (Balances the sweetness and deepens the flavors.)
- 1 tablespoon red food coloring, gel preferred (For that bold, iconic red velvet color.)
- 1 1/2 cups (190g) all-purpose flour (The backbone of the cookie dough.)
- 1/2 cup (90g) white chocolate chips (Optional but highly recommended for bursts of creamy sweetness.)
- Additional powdered sugar, for coating (To create that snowy finish.)
Step-by-Step Instructions
- Prepare Your Oven and Baking Sheet
Preheat your oven to 350°F (175°C). Line a baking sheet with parchment paper to ensure the cookies don’t stick and bake evenly. - Cream the Wet Ingredients
In a large mixing bowl, beat the softened butter and 1/2 cup powdered sugar together until the mixture is light and fluffy. This step is essential for creating a soft, tender cookie, so take your time and let the butter and sugar fully incorporate. Once fluffy, add the vanilla extract, salt, and red food coloring. Stir until the color is evenly distributed and vibrant. - Mix in the Dry Ingredients
Gradually add the cocoa powder and flour to the wet mixture, stirring gently after each addition. Be careful not to overmix—stop as soon as the flour is fully incorporated. The dough might feel slightly crumbly at this stage, but don’t worry; it should hold together when you press it between your fingers. Finally, fold in the white chocolate chips for a bit of extra sweetness and texture. - Shape the Cookies
Using a tablespoon, scoop out portions of the dough and roll them into balls. Try to keep them about the size of a golf ball for even baking. Arrange the dough balls on your prepared baking sheet, leaving about an inch of space between each cookie. - Bake to Perfection
Place the cookies in your preheated oven and bake for 10-12 minutes. You’ll know they’re ready when the edges are set, but the tops still look slightly soft. Don’t let them brown—this ensures they stay tender and buttery. - Coat in Powdered Sugar
Let the cookies cool on the baking sheet for about 5 minutes. While they’re still warm, roll each cookie in powdered sugar until fully coated. For an extra snowy look, give them a second coating once they’ve completely cooled.
How to Serve Red Velvet Snowball Cookies
These Red Velvet Snowball Cookies are perfect on their own with a cup of coffee or tea, but if you’re serving them as part of a dessert spread, here are a few ideas to elevate your presentation:
- Pair them with a platter of fresh berries for a pop of color and tangy contrast.
- Serve alongside hot chocolate for a cozy winter treat.
- Create a cookie tower by stacking them on a decorative plate for a stunning holiday centerpiece.
Additional Tips
- Use Gel Food Coloring
For the best color, opt for gel food coloring instead of liquid. It’s more concentrated and won’t affect the consistency of your dough. - Soften Butter Properly
Make sure your butter is softened to room temperature. Cold butter won’t cream properly, and melted butter will make the dough too greasy. - Chill the Dough if Needed
If your dough feels too soft or sticky, pop it in the fridge for 30 minutes. This will make it easier to roll into balls and help prevent the cookies from spreading too much during baking. - Double the Recipe for a Crowd
These cookies are so addictive that they disappear quickly! Consider doubling the recipe if you’re baking for a party or gifting them to friends and family. - Experiment with Fillings
Don’t limit yourself to white chocolate chips. Try adding chopped nuts, dark chocolate chunks, or even dried cranberries for a fun twist.
Recipe Variations
The beauty of this recipe is how versatile it is. Here are a few ideas for customizing your Red Velvet Snowball Cookies:
- Gluten-Free Option: Swap out the all-purpose flour for a 1:1 gluten-free flour blend.
- Dairy-Free: Use dairy-free butter and skip the white chocolate chips or use a dairy-free alternative.
- Add a Spicy Kick: Stir in a pinch of cayenne pepper or cinnamon for a warm, spicy twist.
- Chocolate Drizzle: Once cooled, drizzle melted dark or white chocolate over the top for extra decadence.
Storing and Freezing
If you have any leftovers (unlikely, but possible), store the cookies in an airtight container at room temperature for up to 5 days. They stay soft and flavorful without refrigeration. For longer storage, freeze the baked cookies in a single layer on a baking sheet until solid, then transfer them to a freezer-safe bag. To serve, let them thaw at room temperature and roll in powdered sugar again if needed.
Special Equipment
To make these cookies a breeze, here are a few tools that come in handy:
- Stand Mixer or Hand Mixer: For creaming the butter and sugar.
- Parchment Paper: Ensures easy cleanup and prevents sticking.
- Cookie Scoop: Helps create evenly sized cookies for uniform baking.
FAQ
Can I use liquid food coloring instead of gel?
Yes, but you might need to use more to achieve the same vibrant red color.
Can I freeze the dough instead of the baked cookies?
Absolutely. Roll the dough into balls, freeze on a baking sheet, then transfer to a freezer bag. When ready to bake, add a minute or two to the cooking time.
Can I make the dough ahead of time?
Yes! You can prepare the dough up to two days in advance and store it in the fridge until you’re ready to bake.
I hope you’re as excited as I am to try these cookies. Let me know how they turn out, and don’t forget to share your photos—seeing your creations always makes my day. Happy baking!
Print
Red Velvet Snowball Cookies: A Festive Delight
- Total Time: 30-32 minutes
- Yield: 24 cookies 1x
- Diet: Vegetarian
Description
Red Velvet Snowball Cookies are melt-in-your-mouth buttery treats with a vibrant red velvet center and a snowy powdered sugar coating. These festive cookies are simple to make and perfect for holidays, parties, or gifting.
Ingredients
- 1/2 cup (115g) unsalted butter, softened
- 1/2 cup (60g) powdered sugar
- 1/4 cup (25g) unsweetened cocoa powder
- 1 teaspoon vanilla extract
- 1/4 teaspoon salt
- 1 tablespoon red food coloring (gel preferred)
- 1 1/2 cups (190g) all-purpose flour
- 1/2 cup (90g) white chocolate chips
- Additional powdered sugar, for coating
Instructions
- Preheat oven to 350°F (175°C). Line a baking sheet with parchment paper.
- Cream butter and powdered sugar until fluffy. Add vanilla, salt, and food coloring.
- Gradually mix in cocoa powder and flour until combined. Fold in white chocolate chips.
- Roll dough into 1-inch balls and place on the baking sheet.
- Bake for 10-12 minutes.
- Let cool for 5 minutes, then roll in powdered sugar. Roll again once fully cooled.
Notes
For a deeper red color, use gel food coloring. Chilling the dough for 30 minutes helps with easier shaping.
- Prep Time: 20 minutes
- Cook Time: 10-12 minutes
- Category: Dessert
- Method: Baking
- Cuisine: American