
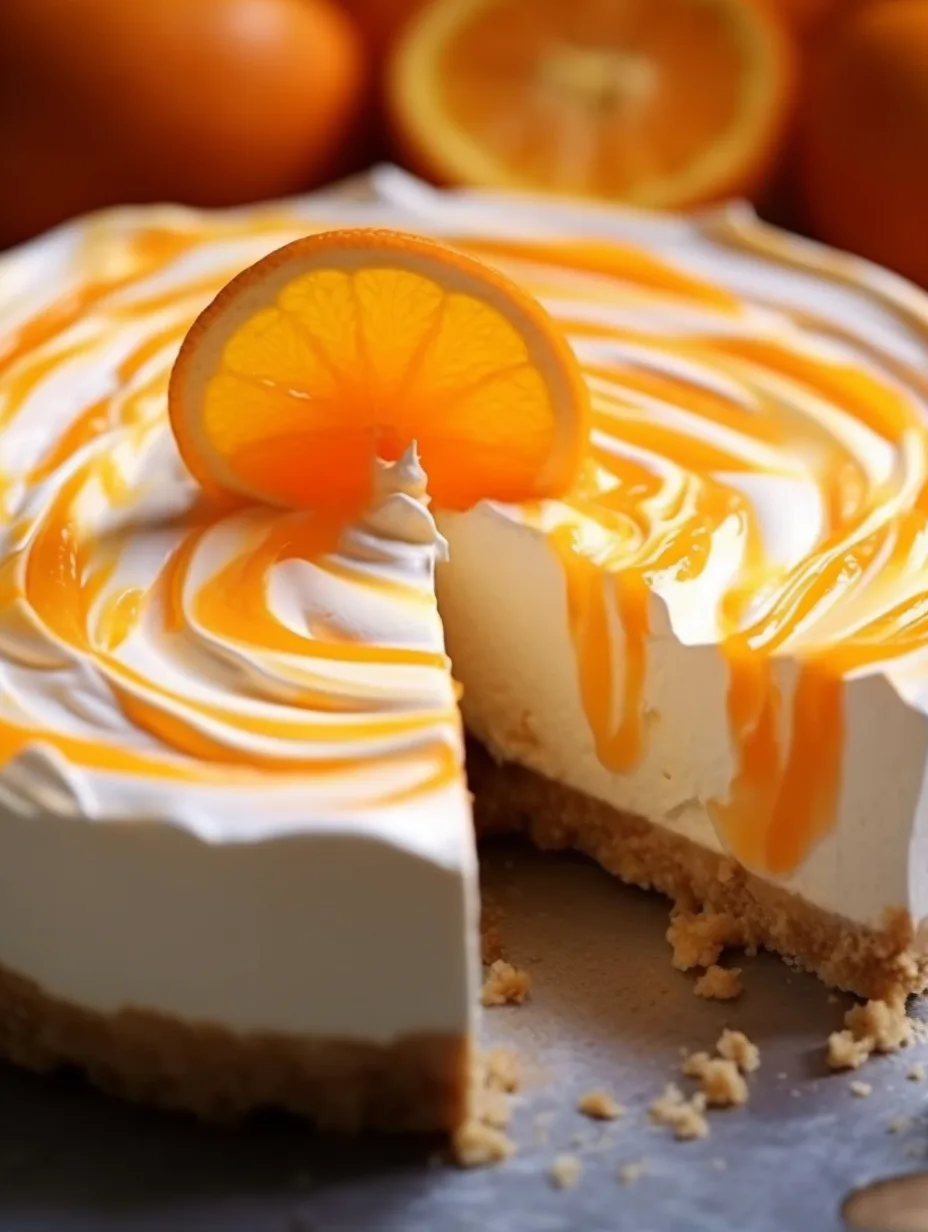
No-Bake Orange Creamsicle Cheesecake is the perfect dessert for those hot summer days and special occasions. This delightful cheesecake captures the nostalgic flavors of orange and creamy vanilla, reminiscent of a childhood favorite treat. The melding of refreshing orange and smooth cheesecake creates an amazing harmony of flavors. The best part? You won’t need an oven to create this incredible dessert!
If you’ve ever craved a treat that ticks all the boxes for refreshment and indulgence, this No-Bake Orange Creamsicle Cheesecake is your answer. The first bite reveals a rich, velvety texture that is sure to leave your taste buds dancing with joy. Each slice of this cheesecake is a celebration of flavors that beautifully balance the sweetness of the orange with the creaminess of the filling. This recipe will surely impress both family and friends, making it a standout dish for gatherings and celebrations.
In this guide, you will learn why this No-Bake Orange Creamsicle Cheesecake is an essential addition to your dessert repertoire. You’ll find easy-to-follow instructions, useful tips, and serving suggestions to elevate this dessert from good to phenomenal. Whether you’re an experienced baker or someone just starting, preparing this cheesecake will be an enjoyable experience that yields delicious results. Let’s dive into what makes this dessert so special!
Why You’ll Love This Recipe
No-Bake Orange Creamsicle Cheesecake is not just a dessert; it’s an experience that brings happiness and satisfaction. Here are some fantastic reasons why this recipe will win your heart:
1. Effortless Preparation – The no-bake aspect means less work and no need for baking tools.
2. Refreshing Flavor – The combination of citrusy orange and creamy cheesecake provides a refreshing twist perfect for warmer days.
3. No Oven Needed – Perfect for hot summer months or when you want to avoid heating up the kitchen.
4. Stunning Presentation – The vibrant orange color and creamy texture create an impressive dessert that catches the eye.
5. Versatile Base – Customize the crust or topping to suit your preferences, or use different fruit flavors if desired.
6. Family-Friendly – This recipe is safe for kids to help with, making it a great family activity.
With these enticing elements, you can see why so many people adore this No-Bake Orange Creamsicle Cheesecake. It’s a wonderful dessert that will undoubtedly shine at any gathering!
Preparation and Cooking Time
Creating the No-Bake Orange Creamsicle Cheesecake is straightforward and quick. Here’s a breakdown of the estimated times needed:
– Preparation Time: 30 minutes
– Chilling Time: 4 hours or overnight for best results
– Total Time: Approximately 4 hours and 30 minutes
These time estimates may vary slightly depending on your kitchen speed and equipment, but this guideline should help you plan your baking schedule.
Ingredients
– 1 ½ cups graham cracker crumbs
– ½ cup unsalted butter, melted
– 1 cup granulated sugar
– 2 cups cream cheese, softened
– 1 cup heavy whipping cream
– 1 cup orange juice, freshly squeezed
– 2 teaspoons orange zest
– 1 teaspoon vanilla extract
– ½ teaspoon salt
– 1 packet (0.25 oz) unflavored gelatin (optional)
– Fresh orange slices, for decoration (optional)
Step-by-Step Instructions
Crafting this No-Bake Orange Creamsicle Cheesecake is a fun, easy process! Simply follow these steps:
1. Prepare the Crust: In a mixing bowl, combine the graham cracker crumbs and melted butter. Stir until evenly combined. Press the mixture firmly into the bottom of a 9-inch springform pan to create a crust. Set aside.
2. Beat the Cream Cheese: In a large mixing bowl, beat the softened cream cheese with an electric mixer until smooth, about 2-3 minutes.
3. Add Sugar and Flavorings: Gradually add the granulated sugar, orange juice, orange zest, vanilla extract, and salt to the cream cheese. Mix until everything is well incorporated and creamy.
4. Prepare the Whipping Cream: In another bowl, whip the heavy cream until stiff peaks form.
5. Fold in the Whipped Cream: Gently fold the whipped cream into the cream cheese mixture until fully combined. This will give your cheesecake a light, airy texture.
6. Optional Gelatin Step: If using gelatin, dissolve it in 2 tablespoons of warm water and let it sit for a few minutes. Then, fold it into the mixture to help set the cheesecake.
7. Fill the Pan: Pour the cheesecake filling into the prepared crust. Smooth the top with a spatula for a clean finish.
8. Chill: Cover the cheesecake with plastic wrap and refrigerate for at least 4 hours, or preferably overnight to allow it to set properly.
9. Unmold and Decorate: Once chilled, carefully remove the cheesecake from the springform pan. If desired, garnish the top with fresh orange slices for a beautiful presentation.
How to Serve
Serving No-Bake Orange Creamsicle Cheesecake is as delightful as making it. Consider the following suggestions to make the experience memorable:
1. Presentation: Use a cake stand to elevate the beautiful cheesecake. A simple yet elegant design adds a touch of sophistication.
2. Accompaniments: Pair slices with fresh berries, whipped cream, or a scoop of vanilla ice cream for extra flavor and texture.
3. Slice Size: Cut generous slices, encouraging guests to savor this delicious dessert. Offering slightly smaller pieces can invite seconds!
4. Beverage Pairing: This cheesecake pairs well with iced tea, lemonade, or even a refreshing glass of prosecco for a celebratory touch.
By focusing on how you serve the No-Bake Orange Creamsicle Cheesecake, you can enhance the overall experience for both you and your guests. Enjoy every delightful bite!
Additional Tips
– Use Fresh Oranges: To elevate the flavor, opt for freshly squeezed orange juice and zest. This enhances the dessert’s vibrant taste.
– Let it Chill: Ensure you allow ample chilling time. Overnight chilling will yield the best texture and flavor.
– Experiment with Toppings: Consider adding a layer of orange marmalade or a dollop of whipped cream on top for extra indulgence.
– Serve Cold: This cheesecake is best enjoyed straight out of the refrigerator. This keeps it refreshingly cool and delicious.
Recipe Variation
Feel free to put your twist on this No-Bake Orange Creamsicle Cheesecake with these delightful variations:
1. Chocolate Version: Add melted chocolate to the cream cheese mixture for a chocolate-orange cheesecake that brings a whole new dimension to the dessert.
2. Different Fruit Flavors: Substitute the orange juice and zest with other fruit juices like lemon or strawberry for an equally delicious, yet distinct cheesecake.
3. Nutty Crunch: Incorporate crushed nuts into the crust or sprinkle them on top for an added texture and richness.
4. Vegan Adaptation: Use dairy-free cream cheese and coconut cream for the filling and ensure the gelatin is plant-based for a vegan-friendly option.
Freezing and Storage
– Storage: To keep your No-Bake Orange Creamsicle Cheesecake fresh, store it in an airtight container in the refrigerator. It should stay good for 4-5 days.
– Freezing: If you want to enjoy this treat later, slice it and wrap each piece tightly in plastic wrap, then place in an airtight container. This cheesecake can be frozen for up to 3 months. Thaw it in the refrigerator before serving for the best texture.
Special Equipment
Having the right tools can make the preparation of your cheesecake a breeze. Here’s what you’ll need:
– Mixing bowls for combining ingredients.
– Electric mixer to achieve a smooth and creamy filling.
– 9-inch springform pan for easy release after chilling.
– Spatula to smooth over the filling in the crust.
– Measuring cups and spoons for accurate ingredient measurements.
Frequently Asked Questions
Can I use a different crust?
Absolutely! You can experiment with other crusts such as an Oreo or almond flour crust for a unique taste.
How do I know when the cheesecake is set?
The cheesecake will be firm to the touch and slightly jiggle in the center when it’s set. Allow it to chill longer if needed.
Can I add more orange flavor?
Certainly! Increase the amount of orange zest or add a splash more of orange juice. Just be cautious with moisture levels.
What if I don’t have gelatin?
It’s not mandatory; the cheesecake can still set up nicely with the whipped cream and cream cheese, though it may be slightly softer.
Is this dessert suitable for kids?
Yes! This No-Bake Orange Creamsicle Cheesecake is kid-friendly and perfect for cooking together as a family.
Conclusion
In summary, the No-Bake Orange Creamsicle Cheesecake is a delightful combination of flavors that brings joy and nostalgia. Its easy preparation and the absence of baking make it a fantastic choice, especially during warmer months. The creamy texture combined with the zesty orange flavor is sure to be a hit at any gathering. With a few simple ingredients and a little time, you can create a memorable dessert that will leave guests asking for seconds. Enjoy this refreshing treat and share it with the ones you love!
No-Bake Orange Creamsicle Cheesecake: An Amazing Ultimate Recipe
- Total Time: 30 minutes
Ingredients
– 1 ½ cups graham cracker crumbs
– ½ cup unsalted butter, melted
– 1 cup granulated sugar
– 2 cups cream cheese, softened
– 1 cup heavy whipping cream
– 1 cup orange juice, freshly squeezed
– 2 teaspoons orange zest
– 1 teaspoon vanilla extract
– ½ teaspoon salt
– 1 packet (0.25 oz) unflavored gelatin (optional)
– Fresh orange slices, for decoration (optional)
Instructions
Crafting this No-Bake Orange Creamsicle Cheesecake is a fun, easy process! Simply follow these steps:
1. Prepare the Crust: In a mixing bowl, combine the graham cracker crumbs and melted butter. Stir until evenly combined. Press the mixture firmly into the bottom of a 9-inch springform pan to create a crust. Set aside.
2. Beat the Cream Cheese: In a large mixing bowl, beat the softened cream cheese with an electric mixer until smooth, about 2-3 minutes.
3. Add Sugar and Flavorings: Gradually add the granulated sugar, orange juice, orange zest, vanilla extract, and salt to the cream cheese. Mix until everything is well incorporated and creamy.
4. Prepare the Whipping Cream: In another bowl, whip the heavy cream until stiff peaks form.
5. Fold in the Whipped Cream: Gently fold the whipped cream into the cream cheese mixture until fully combined. This will give your cheesecake a light, airy texture.
6. Optional Gelatin Step: If using gelatin, dissolve it in 2 tablespoons of warm water and let it sit for a few minutes. Then, fold it into the mixture to help set the cheesecake.
7. Fill the Pan: Pour the cheesecake filling into the prepared crust. Smooth the top with a spatula for a clean finish.
8. Chill: Cover the cheesecake with plastic wrap and refrigerate for at least 4 hours, or preferably overnight to allow it to set properly.
9. Unmold and Decorate: Once chilled, carefully remove the cheesecake from the springform pan. If desired, garnish the top with fresh orange slices for a beautiful presentation.
- Prep Time: 30 minutes
- Cook Time: 0 minutes
Nutrition
- Serving Size: 12
- Calories: 300 kcal
- Fat: 20g
- Protein: 4g