
There’s just something undeniably nostalgic and soul-soothing about Classic Lemon Bars. Maybe it’s the way the buttery shortbread crust melts in your mouth, or the way the vibrant lemon filling wakes up your taste buds with a perfect balance of tang and sweetness. Either way, lemon bars are the kind of treat that feels like sunshine in dessert form. They’re bright, fresh, comforting, and incredibly satisfying—all at the same time.
I vividly remember the first time I had a lemon bar as a kid. My neighbor brought over a tin of homemade lemon squares during one of those breezy spring afternoons when everything just felt lighter. One bite, and I was hooked. Ever since, lemon bars have held a special place in my kitchen. I’ve experimented with countless versions over the years, from fancy ones with lavender to ultra-simplified takes using just lemon curd and pre-made crust. But time and again, I come back to this classic version—it’s the gold standard.
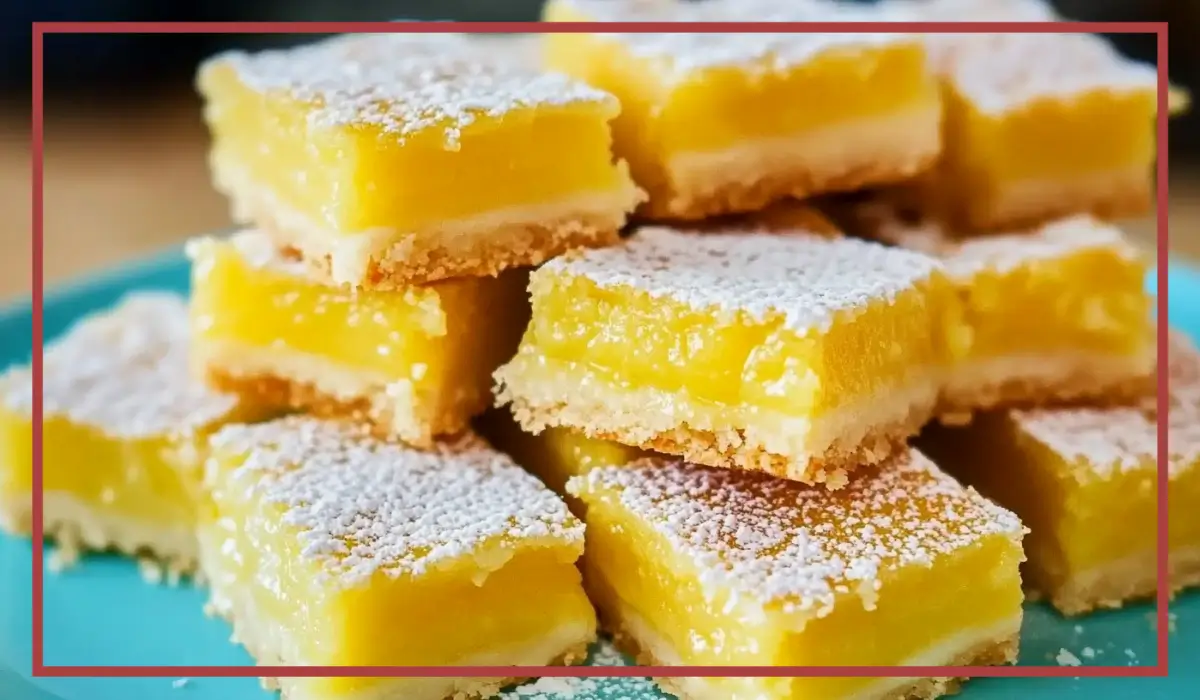
This particular recipe hits all the right notes. The crust is rich and buttery with just a hint of sweetness, perfectly balancing the tartness of the lemon filling. Speaking of the filling, it’s thick, silky, and bursting with citrus flavor, thanks to freshly squeezed lemon juice and zest. And let’s not forget the final dusting of powdered sugar, which adds a delicate touch of sweetness and gives the bars that bakery-style finish.
One of the best things about this recipe is how straightforward it is. You don’t need any fancy equipment or hard-to-find ingredients. Everything comes together using basic pantry staples, and you probably have most of what you need in your kitchen already. Despite its simplicity, the result is a dessert that looks and tastes like it came straight out of a professional bakery.
Whether you’re making these for a family gathering, a picnic, a potluck, or simply to enjoy with your afternoon tea, these lemon bars are always a hit. They’re refreshing during the summer, comforting in the winter, and totally irresistible all year round. Keep reading to discover why you’ll love this recipe, how it can fit into your healthy lifestyle, and exactly how to master every single step.
Why You’ll Love This Classic Lemon Bars Recipe
If you’re a fan of vibrant flavors and easy-to-make desserts, this lemon bar recipe is going to become a fast favorite. Not only is it simple to follow, but the results are always reliable and mouthwateringly good.
First and foremost, this recipe is incredibly approachable. With just a handful of pantry staples, you can whip up a batch of lemon bars that taste like they came from a high-end bakery. There’s no need for complicated techniques or fancy kitchen tools—just a mixing bowl, a whisk, and a baking dish.
Another reason you’ll fall in love with this recipe is the texture. The base layer, made from a simple shortbread crust, is tender, buttery, and slightly crisp around the edges. It serves as the perfect foundation for the luscious lemon layer on top. That lemon filling is what really sets this dessert apart—it’s tangy and smooth with just the right amount of sweetness. The balance of flavors keeps you coming back for bite after bite.
This recipe is also highly customizable. If you love your lemon bars more on the tart side, simply add an extra splash of lemon juice. Prefer them sweeter? Adjust the sugar to suit your taste. Want to add a twist? A little vanilla or almond extract can introduce a subtle complexity that enhances the overall flavor profile.
Another fantastic feature is how these bars hold up. Once chilled, they slice beautifully and maintain their shape, making them ideal for parties, lunchboxes, or gifting. They travel well, store easily, and freeze wonderfully—more on that later.
Most importantly, these lemon bars are pure comfort. Whether you’re treating yourself after a long day or sharing them with loved ones, they bring a sense of joy and satisfaction that few desserts can match.
Health Benefits of these Classic Lemon Bars
While lemon bars are certainly a treat, you might be surprised to know that they come with some nutritional benefits, especially when made with fresh, wholesome ingredients. Let’s break down a few ways this dessert can be both indulgent and nourishing.
To start, lemons are the star of the show here, and they bring a powerful boost of vitamin C. This antioxidant plays a key role in supporting your immune system, promoting healthy skin, and aiding in the absorption of iron. Just one medium lemon provides more than half of your daily recommended intake of vitamin C, and this recipe uses the zest and juice of four lemons. That means each bar delivers a good dose of this essential nutrient.
Eggs, another key ingredient, offer a solid amount of protein and essential vitamins such as B12 and D. They help give the lemon filling its rich, custard-like texture and also contribute to the dessert’s satisfying quality. Because eggs are naturally nutrient-dense, they provide more than just structure—they also support energy and metabolism.
Butter, though often considered indulgent, provides healthy fats when enjoyed in moderation. Fats are necessary for absorbing fat-soluble vitamins, and they also contribute to satiety, helping you feel full and satisfied after a small serving. In this recipe, butter helps form the base of the crust, giving it that irresistible melt-in-your-mouth texture.
Additionally, the use of real, whole ingredients means you’re avoiding the artificial preservatives, colorings, and flavorings that often appear in store-bought desserts. You know exactly what’s going into each batch, which allows you to make informed choices based on your dietary needs.
You can even tweak the recipe slightly to suit your preferences—whether that means reducing the sugar, using whole-wheat flour, or trying a plant-based butter substitute. All of these adjustments can improve the overall nutritional profile while still delivering that same classic flavor.
So while lemon bars might not be a superfood, they’re certainly a feel-good treat that you can enjoy mindfully and without guilt.
Preparation Time, Servings, and Nutritional Information
Knowing how long a recipe takes and what it yields is crucial, especially when you’re planning meals or entertaining. The great news? These lemon bars come together surprisingly quickly and serve a crowd with ease.
Total Preparation Time
- Prep Time: 15–20 minutes
- Bake Time: 40–50 minutes total
- Cooling/Chill Time: 2 hours minimum
- Total Time: About 3 hours, with most of that being hands-off time
Servings
This recipe makes approximately 16 to 20 lemon bars, depending on how large or small you cut them. For larger gatherings, you can easily double the recipe and use two pans, or prepare it in a larger sheet pan.
Nutritional Information (Per Serving, based on 20 bars)
- Calories: ~220
- Total Fat: 10g
- Saturated Fat: 6g
- Cholesterol: 60mg
- Carbohydrates: 30g
- Sugars: 20g
- Protein: 2g
- Vitamin C: 8% DV
These numbers will vary slightly depending on your ingredient brands and portion size, but this gives a good general idea. The key takeaway is that these bars are rich and satisfying, so a small square goes a long way.
Ingredients List of these Classic Lemon Bars
Creating the perfect lemon bar starts with choosing the right ingredients. Each one plays a specific role in achieving that flawless texture and flavor.
For the Crust:
- 2 cups all-purpose flour – This forms the base of the shortbread crust. You can use whole-wheat flour for a slightly nuttier flavor and added fiber.
- 1/2 cup sugar – Just enough to sweeten the crust without overpowering the filling.
- 1/4 teaspoon salt – Helps balance the sweetness and enhance the flavor.
- 1 cup (2 sticks) salted butter, cut into small cubes – Cold butter is essential for that crumbly, melt-in-your-mouth shortbread texture. You can use unsalted butter and add an extra pinch of salt if you prefer.
For the Lemon Filling:
- 1 1/2 cups sugar – This sweetens the tart lemon juice and balances the bold citrus flavor.
- 1/4 cup flour – Adds structure to the filling and prevents it from being too runny.
- 4 large eggs – These create the custardy texture and give the filling body.
- Zest and juice of 4 medium lemons – The zest adds fragrant citrus oils while the juice brings the bright, tangy flavor we all crave.
- Powdered sugar, for dusting – Adds that final touch of sweetness and gives the bars a beautiful finish.
If you’re someone who likes to prep in advance, you can measure and zest the lemons a day ahead, and keep the butter chilled until you’re ready to make the crust.
Next up: let’s walk through the step-by-step cooking instructions so you can master this recipe from start to finish.
Step-By-Step Cooking Instructions of these Classic Lemon Bars
Getting those perfect lemon bars—where the crust is tender and buttery, and the lemon layer is thick, creamy, and sets just right—comes down to a few simple techniques. Follow these steps closely, and you’ll have a tray of bakery-worthy lemon bars cooling on your counter in no time.
Step 1: Prepare Your Baking Equipment
Before anything else, start by preheating your oven to 350°F (175°C). This ensures an even bake from the moment your crust hits the oven.
Next, choose your pan. You can use a 9×13-inch pan for classic, thinner lemon bars, or opt for a 9×9-inch pan if you prefer thicker bars. Both work beautifully—it really just depends on your personal preference. Grease the pan lightly with butter or line it with parchment paper for easier removal. This step is essential because it prevents sticking and makes cleanup so much simpler.
Step 2: Make the Shortbread Crust
Now let’s make that dreamy, buttery crust.
- In a medium mixing bowl, combine 2 cups of all-purpose flour, 1/2 cup sugar, and 1/4 teaspoon salt. Use a whisk to mix them together until evenly distributed.
- Add in 1 cup (2 sticks) of cold, cubed salted butter. The butter should be very cold—straight from the fridge is ideal. This ensures a flaky, tender texture.
- Using a pastry cutter or your fingertips, work the butter into the flour mixture until it resembles coarse, sandy crumbs. You want to see small pea-sized bits of butter remaining in the mix. These melt as they bake, creating that signature flaky texture.
- Once the mixture is ready, pour it into your prepared baking pan. Using your hands or the back of a spoon, press the mixture evenly into the bottom of the pan. Don’t press too hard—you want it compact, but not packed too tightly.
- Place the pan in the preheated oven and bake the crust for about 20 minutes, or until the edges begin to turn a light golden brown. This pre-bake step is essential because it gives the crust a head start before the lemon filling is added.
Step 3: Make the Lemon Filling
While the crust is baking, you can whip up the lemon filling. This step is quick and easy, but it’s important to mix everything in the correct order.
- In a clean bowl, combine 1 1/2 cups sugar with 1/4 cup flour. This dry mixture helps the filling thicken and sets the foundation for the custard-like consistency.
- Add in 4 large eggs. Whisk them in until the mixture becomes smooth and well combined. You don’t need to beat them too much—just until the eggs and sugar come together into a glossy mixture.
- Next, zest and juice your lemons. You’ll need the zest and juice from 4 medium lemons. Make sure to zest before you juice—it’s much easier that way. Add both the zest and juice to the bowl, and whisk everything together until fully incorporated.
- The mixture should be silky and pourable. Taste it at this stage if you’d like—you should get a strong citrus flavor with a sweet undertone. If it feels too tart for your preference, you can always add another tablespoon or two of sugar.
Step 4: Combine and Bake Again
Once the crust is out of the oven, take a moment to ensure it’s still warm—but not scalding—before pouring the filling over it. The warmth helps the filling bond to the crust, creating that seamless transition between layers.
- Gently pour the lemon filling over the warm crust. Use a spatula to spread it evenly if needed.
- Carefully return the pan to the oven and bake for another 20 to 30 minutes. The bake time can vary depending on your oven and the size of your pan.
- You’ll know it’s done when the center no longer jiggles when you gently shake the pan. The filling should look set, with a very light golden hue on the surface. Don’t wait for it to brown—that means it’s likely overbaked.
Step 5: Cool Completely
This part requires a little patience, but it’s absolutely worth the wait.
- Allow the lemon bars to cool at room temperature for at least 30 minutes, then transfer them to the refrigerator to chill for at least 2 hours. This helps the filling fully set and makes slicing much easier.
- Once chilled, dust the top with powdered sugar just before serving. You can use a fine-mesh sieve for an even, delicate layer.
Step 6: Slice and Serve
Now for the best part—cutting and enjoying your lemon bars.
- Use a sharp knife to slice the bars into squares or rectangles. To get clean edges, wipe the knife with a warm damp cloth between each cut.
- Serve chilled or at room temperature. Either way, the texture remains velvety and the flavor stays bright and balanced.
With these detailed steps, even a first-time baker can confidently make lemon bars that are equal parts gorgeous and delicious. Now, let’s talk about how to serve them to impress.
How to Serve these Classic Lemon Bars
Lemon bars are a versatile treat that can be served in so many delightful ways. Whether you’re keeping it simple for an afternoon snack or dressing them up for a dinner party, here are a few ideas to help you present your lemon bars beautifully.
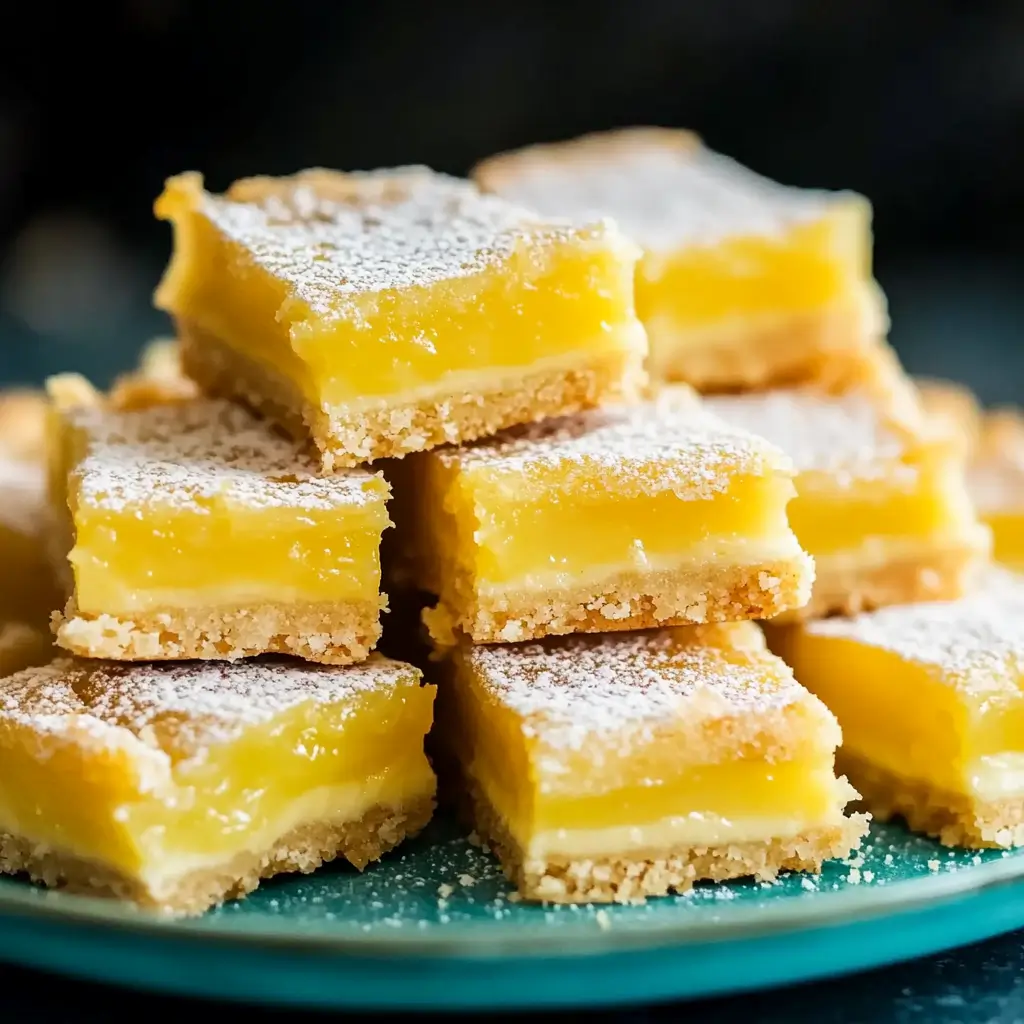
For a classic presentation, serve the bars on a simple white platter dusted with powdered sugar. The contrast of the golden-yellow filling against the white sugar makes for a beautiful display. This minimalist approach lets the vibrant color and clean lines of the lemon bars really shine.
If you’re hosting a gathering or holiday celebration, consider pairing the lemon bars with fresh berries like raspberries or blueberries. Their natural sweetness complements the tart lemon flavor beautifully. A sprig of mint adds a pop of green and a lovely fresh aroma.
You can also elevate the experience by serving the bars with a dollop of whipped cream or a scoop of vanilla ice cream. The creaminess balances out the acidity of the lemon, creating a more indulgent dessert that guests will rave about.
For a more refined serving option, slice the bars into small rectangles or diamonds and arrange them in decorative cupcake liners. This makes them easy to grab at parties and keeps fingers from getting sticky.
When serving kids or a casual family snack, pair lemon bars with a glass of cold milk or a cup of herbal tea. They make a delightful midday treat that’s not too heavy, especially after lunch or dinner.
Whether you’re going elegant or keeping it cozy, lemon bars are always a crowd-pleaser.
Pairing Suggestions for these Classic Lemon Bars
While lemon bars are delicious on their own, pairing them with the right beverages and accompaniments can enhance their bright, citrusy flavor even further. Here are several pairing suggestions that can take your lemon bar experience to the next level.
For a refreshing drink pairing, herbal teas like chamomile, mint, or lemon verbena work wonderfully. These mild teas don’t compete with the flavor of the lemon bars but instead create a soothing balance. Green tea is another excellent choice, especially if you prefer something with a slightly earthy undertone to contrast the sweetness.
Coffee, especially a light or medium roast, can also be a great match. The slight bitterness of the coffee helps cut through the sweetness of the bars and enhances the richness of the crust. If you’re a fan of iced coffee, try a splash of almond milk or a cinnamon stick for an added layer of flavor.
When it comes to cold beverages, sparkling water with a splash of citrus or a light lemonade can complement the bright lemon notes of the dessert. Avoid overly sweet drinks, which can overpower the delicate balance of sweet and tart in the bars.
If you’re serving the bars after a meal, a small bowl of fresh fruit or a citrus sorbet can complete the dessert course. These light additions keep the palate refreshed and don’t weigh you down after a big meal.
You can also pair lemon bars with light savory snacks. A salty almond or pistachio mix, or even thin crackers with a mild cheese like brie, can offer an interesting contrast that makes the lemon flavor pop.
With the right pairing, lemon bars can be transformed from a simple dessert into a complete culinary experience.
Storage, Freezing & Reheating Instructions
One of the great things about lemon bars is how well they store and freeze. This makes them an ideal make-ahead dessert for parties, meal prep, or whenever you need a sweet treat on standby.
Storing in the Refrigerator
Once the lemon bars have fully cooled and been dusted with powdered sugar, transfer them to an airtight container. They can be stored in the refrigerator for up to 5 days. If you need to stack the bars, place a piece of parchment paper between layers to prevent sticking.
Chilling the bars not only keeps them fresh but also helps maintain their structure, making them easier to handle and serve.
Freezing Lemon Bars
Lemon bars freeze beautifully and are a fantastic dessert to keep on hand. Here’s how to freeze them properly:
- After the bars have cooled completely, cut them into your desired serving sizes.
- Place them on a baking sheet in a single layer and freeze until solid—about 1 to 2 hours.
- Once frozen, transfer the bars to a freezer-safe container or zip-top bag. Use parchment paper between layers if stacking.
- Label the container with the date. Lemon bars can be frozen for up to 3 months.
When you’re ready to enjoy them, remove as many bars as needed and let them thaw in the refrigerator overnight or at room temperature for about 30–60 minutes. Avoid microwaving, as this can alter the texture and make the crust soggy.
Reheating
Generally, lemon bars are best enjoyed cold or at room temperature. However, if you prefer them slightly warm, you can place a single bar on a plate and warm it in the microwave for 10 to 15 seconds. Just be cautious not to overheat, as the filling can become too soft.
By following these storage and freezing tips, you’ll always have a bright and flavorful treat ready to go—whether for last-minute guests or a midweek dessert craving.
Common Mistakes to Avoid in these Classic Lemon Bars
While lemon bars are a relatively simple dessert to make, there are a few common mistakes that can trip up even the most seasoned bakers. Being aware of these pitfalls can help ensure your lemon bars come out perfectly every time—golden on the bottom, silky in the center, and bursting with citrus flavor.
Not Pre-Baking the Crust
One of the most critical steps in this recipe is pre-baking the shortbread crust before adding the lemon filling. Skipping this step results in a soggy base that doesn’t hold up under the weight and moisture of the filling. Always bake the crust until it’s just turning golden around the edges. This not only creates a firm foundation but also adds a toasty, nutty flavor.
Using Bottled Lemon Juice
While bottled lemon juice is convenient, it lacks the brightness and complexity of fresh lemon juice. The zest is equally important—it contains the fragrant oils that give lemon bars their signature aroma and depth. Always zest your lemons before juicing to get the most flavor out of each fruit.
Overbaking the Filling
Lemon bars should be just set in the middle when they come out of the oven. Overbaking can cause the filling to crack or become rubbery instead of soft and smooth. Watch carefully toward the end of the baking time and give the pan a gentle jiggle—the center should no longer wobble like liquid but still have a slight softness to the touch.
Skipping the Cooling Time
This one’s hard, especially when your kitchen smells like a bakery and you’re eager to dig in—but patience is key. If you try to slice the bars too soon, the filling won’t have time to firm up, and you’ll end up with a gooey mess. Let the bars cool at room temperature, then chill them for at least two hours in the fridge before cutting.
Adding Powdered Sugar Too Early
Powdered sugar looks beautiful on top of lemon bars, but it will dissolve if you sprinkle it while the bars are still warm. Wait until the bars are fully cooled and just about to be served before adding that snowy dusting.
Not Lining the Pan
Greasing the pan is fine, but using parchment paper makes removing and slicing the bars a breeze. You can lift the entire slab out in one go, place it on a cutting board, and slice cleanly—no sticking, no crumbling edges, no frustration.
Avoiding these common mistakes means your lemon bars will look as good as they taste, with perfect texture, clean layers, and that irresistible balance of sweet and tart.
Pro Tips of these Classic Lemon Bars
Whether you’re making lemon bars for the first time or the fiftieth, a few pro-level tips can make all the difference. These are the kinds of small details that elevate a basic recipe into something truly special.
Use Cold Butter for the Crust
For the best texture in your shortbread crust, always start with very cold butter. It should be straight from the fridge when you cut it into cubes. Cold butter melts as it bakes, creating small pockets of steam that give your crust that signature flakiness and tender bite.
Zest Before You Juice
This might seem like a minor detail, but it makes your life so much easier. Trying to zest a lemon that’s already been juiced is nearly impossible. Zest your lemons first, then cut and juice them. You’ll extract every bit of flavor, and your hands will thank you.
Strain the Lemon Mixture
If you want a super-smooth filling, run the lemon mixture through a fine mesh sieve before pouring it over the crust. This step removes any bits of zest or stray egg white strands, resulting in a perfectly silky texture.
Score Before You Slice
Right after the bars come out of the fridge, use a knife to lightly score the top of the lemon bars where you plan to cut. This makes slicing easier later on and helps guide your cuts for even portions.
Use a Hot Knife for Clean Cuts
To get sharp, bakery-style edges, run your knife under hot water, wipe it dry, and slice. Wipe the blade clean between each cut. This keeps the edges from getting messy and helps each bar look like it came from a pastry case.
Add a Flavor Boost
While the classic version is always a hit, try adding a tiny splash of pure vanilla extract or a pinch of sea salt to the lemon filling. These subtle flavors deepen the citrus notes and make the lemon flavor pop even more.
Don’t Skip the Chill Time
As tempting as it is to dig in early, chilling the bars is what helps them set and develop their final flavor and texture. Give them at least 2 hours in the fridge, or better yet, overnight. They taste even better the next day.
These tips may seem small, but when combined, they’ll make your lemon bars not just good—but truly unforgettable.
Frequently Asked Questions (FAQs)
When it comes to lemon bars, there are a few questions that come up over and over again. Whether you’re curious about substitutions, storage, or just looking for the best way to customize your dessert, we’ve got answers to help guide you through.
Can I use unsalted butter instead of salted butter?
Yes, you can absolutely use unsalted butter. Just add an extra 1/4 teaspoon of salt to the crust mixture to ensure the flavor is balanced. Salt is important because it brings out the sweetness and enhances the overall flavor of the crust.
What’s the best type of lemon to use?
Standard yellow lemons (Eureka or Lisbon) work best for this recipe. They have the right balance of tartness and juice content. If you want to experiment with flavor, Meyer lemons—sweeter and more floral—can be used, but you may want to reduce the sugar slightly.
Can I make these Classic Lemon Bars gluten-free?
Yes. To make gluten-free lemon bars, substitute the all-purpose flour in both the crust and filling with a 1:1 gluten-free flour blend. Make sure the blend contains xanthan gum or another binding agent for the best results.
How do I know when the lemon filling is set?
Give the pan a gentle shake. If the center no longer jiggles like liquid, and the top looks matte rather than glossy, it’s ready to come out of the oven. It should feel slightly firm to the touch in the center but not dry or cracked.
Can I freeze lemon bars with powdered sugar on top?
It’s best to freeze lemon bars without the powdered sugar. Add the sugar after thawing, just before serving. This keeps the sugar from absorbing moisture and disappearing into the surface of the bars.
Do I need to refrigerate leftovers?
Yes, lemon bars should be stored in the refrigerator due to the egg-based filling. They will keep well in an airtight container for up to 5 days.
Can I double the Classic Lemon Bars recipe?
Absolutely. You can double the ingredients and bake the bars in a larger sheet pan. Just keep an eye on the baking time—it may need a few extra minutes to fully set.
Why did my Classic Lemon Bars crack?
Cracks typically occur from overbaking or cooling too quickly. Make sure to pull the bars out of the oven as soon as the filling is set, and allow them to cool gradually at room temperature before chilling.
Can I reduce the sugar?
You can reduce the sugar slightly in both the crust and filling. Just know that this will make the bars more tart. A good starting point is to reduce the sugar in the filling by 1/4 cup and taste from there.
How far in advance can I make Classic Lemon Bars?
Lemon bars are an ideal make-ahead dessert. You can make them up to 2 days in advance and store them chilled in the fridge. In fact, they taste even better after sitting overnight.
Conclusion & Call to Action
There’s a reason Classic Lemon Bars have stood the test of time—they’re simple, bright, and bursting with citrusy joy. Whether you’re making them for a special celebration, a weekday treat, or a gift for a friend, they’re guaranteed to deliver comfort and smiles in every square.
What makes this recipe so special is that it combines just a few everyday ingredients in a way that feels effortless but yields results that are nothing short of magical. That buttery crust, that rich and tangy lemon filling, that gentle snowy dusting of powdered sugar—it all comes together to create a dessert that’s both nostalgic and timeless.
And the best part? You don’t need to be a professional baker to pull this off. With a little guidance and a lot of lemon love, you’ll be slicing up golden, zesty squares in no time. So go ahead—gather your ingredients, preheat that oven, and bring a little sunshine into your kitchen.
If you give this recipe a try, I’d love to hear how it turned out. Leave a comment with your thoughts, any questions, or how you made it your own. And if you’re sharing your lemon bars on social media, don’t forget to tag me—I absolutely love seeing your delicious creations.
Now go on, make a batch of these classic lemon bars and treat yourself and your loved ones to something truly special. You deserve it.
Print
Classic Lemon Bars Recipe: Buttery Crust and Tangy Lemon Filling
- Total Time: 3 hours (includes cooling)
- Yield: 16–20 bars 1x
- Diet: Vegetarian
Description
This classic lemon bars recipe features a tender, buttery shortbread crust topped with a luscious, tangy lemon filling. Easy to make and bursting with citrus flavor, these bars are perfect for any occasion—from casual snacks to elegant dessert tables.
Ingredients
-
2 cups all-purpose flour
-
1/2 cup sugar
-
1/4 tsp salt
-
1 cup (2 sticks) salted butter, cut into cubes
-
1 1/2 cups sugar
-
1/4 cup flour
-
4 large eggs
-
Zest and juice of 4 medium lemons
-
Powdered sugar, for dusting
Instructions
-
Preheat oven to 350°F (175°C). Grease a 9×13-inch pan.
-
Mix 2 cups flour, 1/2 cup sugar, and 1/4 tsp salt. Cut in butter until crumbly. Press into the pan. Bake for 20 minutes.
-
In another bowl, mix 1 1/2 cups sugar and 1/4 cup flour. Whisk in eggs, lemon juice, and zest.
-
Pour filling over warm crust. Bake for 20–30 minutes until set.
-
Cool completely, chill 2 hours, and dust with powdered sugar before cutting.
Notes
-
Always use fresh lemon juice and zest for the best flavor.
-
Let bars cool fully before slicing for clean edges.
-
Store in the refrigerator and serve chilled for best texture.
-
For thicker bars, use a 9×9-inch pan.
- Prep Time: 20 minutes
- Cook Time: 50 minutes
- Category: Dessert
- Method: Baking
- Cuisine: American