
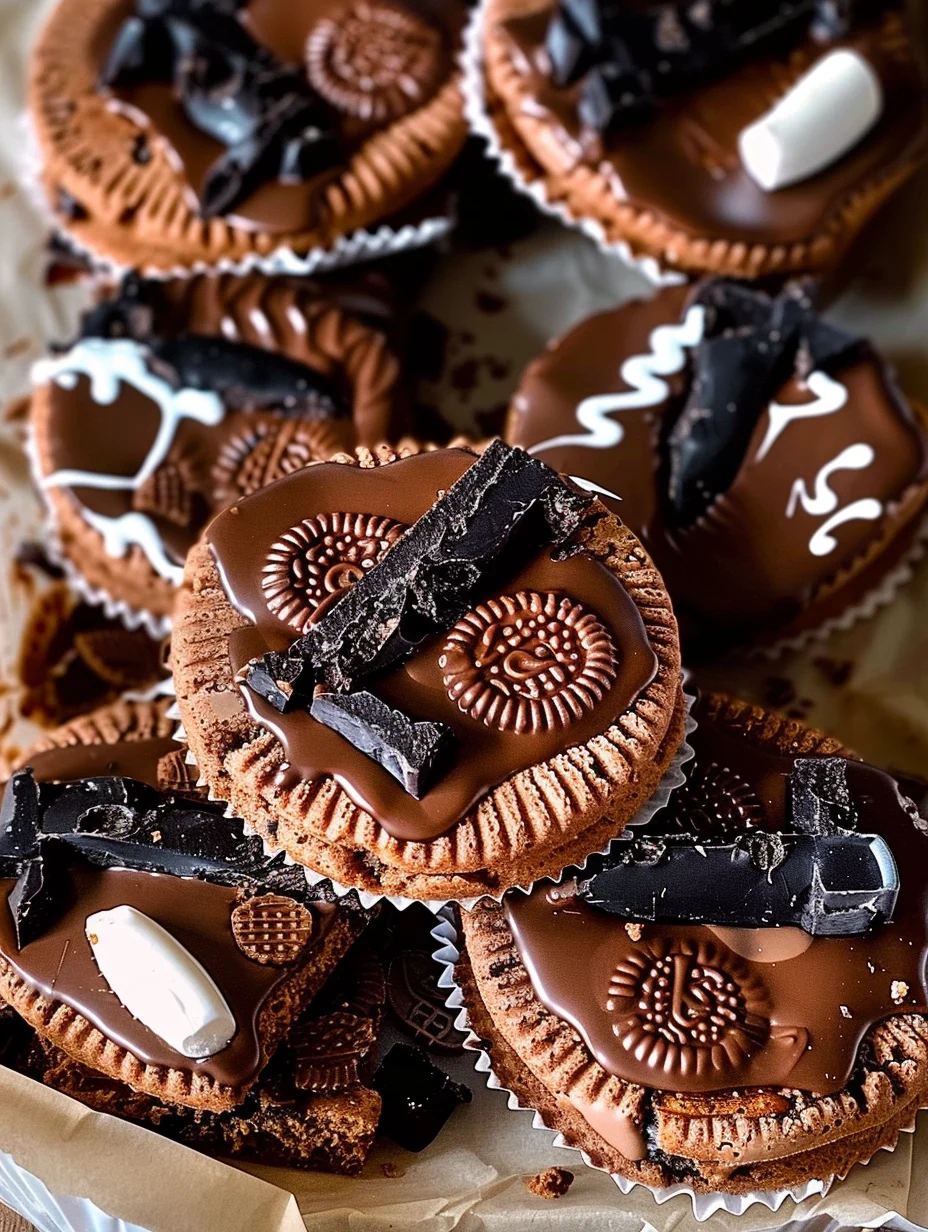
Cowboy Boot Chocolate Covered Oreos is a delightful treat that brings the fun of the Wild West right to your kitchen. These charming cookies are not only visually appealing but also incredibly tasty. The combination of crunchy Oreos and smooth chocolate creates a melt-in-your-mouth experience that is hard to resist. Whether you’re hosting a country-themed party or simply want to indulge in a sweet treat, this recipe is sure to impress.
Imagine the joy on your guests’ faces when they see these fun, cowboy boot-shaped treats! They are perfect for any occasion, from birthday parties to festive gatherings. The simple process of creating these cookies allows you to unleash your creativity while enjoying a delicious dessert. In this article, we will explore why you’ll love this recipe, how to make it step-by-step, and tips for serving these delightful cookies.
Why You’ll Love This Recipe
Cowboy Boot Chocolate Covered Oreos are not just a snack; they are a fun culinary project that everyone can enjoy. Here are some reasons why this recipe will capture your heart:
1. Easy to Make – With just a few ingredients and simple steps, anyone can create these treats.
2. Visually Appealing – The unique cowboy boot shape makes these cookies a standout at any event.
3. Fun for All Ages – Kids and adults alike will enjoy decorating and eating these delicious cookies.
4. Customizable – You can change the colors of the chocolate or add sprinkles to suit your theme.
5. Perfect for Gifting – These cookies make wonderful gifts for friends or family, especially during the holidays.
6. Memorable Treat – The combination of flavors and fun design makes these cookies unforgettable.
These points highlight why Cowboy Boot Chocolate Covered Oreos are a fantastic addition to your dessert repertoire. They are not only fun to make but also a treat that everyone will love.
Preparation and Cooking Time
Creating Cowboy Boot Chocolate Covered Oreos is a delightful process that takes minimal time. Here’s how the time breaks down:
– Preparation Time: 30 minutes
– Chilling Time: 30 minutes
– Total Time: 1 hour
These times may vary depending on your experience and how quickly you work, but this estimate gives you a solid framework.
Ingredients
– 1 package of Oreo cookies
– 1 cup of melting chocolate (dark, milk, or white)
– 1 tablespoon of coconut oil (optional for smooth melting)
– Food coloring (optional for designs)
– Edible decorations (sprinkles, sugar, etc.)
Step-by-Step Instructions
Creating Cowboy Boot Chocolate Covered Oreos is straightforward. Follow these easy steps to make your delicious treats:
1. Melt the Chocolate: In a microwave-safe bowl, combine the melting chocolate and coconut oil (if using). Heat in 30-second intervals, stirring until the mixture is fully melted and smooth.
2. Prepare Your Workspace: Line a baking sheet with parchment paper to place the dipped Oreos on.
3. Dip the Oreos: Using a fork, dip each Oreo into the melted chocolate, ensuring it is fully coated. Allow excess chocolate to drip off before placing it on the prepared baking sheet.
4. Chill the Cookies: Place the coated Oreos in the refrigerator for about 15 minutes to allow the chocolate to set.
5. Decorate: Once the chocolate has hardened, use colored melting chocolate to pipe designs onto the cookies, creating the shape of cowboy boots. You can use a piping bag or a plastic sandwich bag with a corner snipped off.
6. Add Edible Decorations: While the design is still wet, sprinkle edible decorations on top to enhance the cowboy boot look. This can include colored sugar or themed sprinkles.
7. Final Chill: Return the decorated Oreos to the refrigerator for another 15 minutes to set the decorations.
Following these simple steps will lead you to create your very own Cowboy Boot Chocolate Covered Oreos that are sure to delight everyone.
How to Serve
Serving your Cowboy Boot Chocolate Covered Oreos can elevate the experience even further. Consider these tips when presenting your delicious treats:
1. Display on a Serving Platter: Arrange the cookies on a rustic wooden platter or a decorative cake stand to enhance the country theme.
2. Add a Fun Label: Create a cute sign or label that identifies the treats as “Cowboy Boot Oreos” for a fun touch.
3. Pair with Beverages: Serve these cookies alongside milk, coffee, or a themed punch for an enjoyable pairing.
4. Make Gift Bags: For parties, consider packaging individual cookies in clear bags tied with twine to create charming party favors.
5. Encourage Creativity: Invite your guests to decorate their own cookies with extra chocolate and toppings, making it a fun activity.
By taking these simple steps, you can create a memorable experience for your guests, making Cowboy Boot Chocolate Covered Oreos the highlight of your gathering!
Additional Tips
– Use Quality Chocolate: For the best flavor, opt for high-quality melting chocolate. This will enhance the overall taste of your Cowboy Boot Chocolate Covered Oreos.
– Experiment with Colors: Don’t hesitate to use different colors of chocolate for a more vibrant presentation. This can make your cookies even more eye-catching.
– Decorate Creatively: Let your creativity shine by adding various edible decorations like edible glitter or themed sprinkles to make the cookies unique.
– Keep it Cool: Ensure your workspace is cool to help the chocolate set quickly, preventing drips and smudges while decorating.
– Practice Patience: Allow the cookies to chill adequately after coating and decorating. This ensures the chocolate sets properly.
Recipe Variation
Feel free to switch things up! Here are a few variations to try:
1. Flavored Oreos: Use different flavors of Oreos, such as mint, peanut butter, or birthday cake, to add a unique twist to your treats.
2. Chocolate Drizzle: After the cookies have set, drizzle a contrasting color of melted chocolate over the top for an elegant look.
3. Stuffed Oreos: Try adding a layer of frosting or caramel between two Oreos before dipping them in chocolate for an extra indulgent treat.
4. Dipped Pretzels: Use the same chocolate coating technique to dip pretzel rods for a sweet and salty snack that complements your Cowboy Boot Oreos.
Freezing and Storage
– Storage: Keep your Cowboy Boot Chocolate Covered Oreos in an airtight container at room temperature for up to one week. If the weather is particularly warm, consider refrigerating them to prevent melting.
– Freezing: You can freeze these cookies for up to three months. Lay them flat in a single layer on a baking sheet to freeze, then transfer them to an airtight container or freezer bag. Remember to separate layers with parchment paper.
Special Equipment
You will need a few essential tools to prepare these cookies successfully:
– Microwave-safe bowl for melting chocolate
– Fork for dipping Oreos
– Parchment paper for lining the baking sheet
– Piping bag (or sandwich bag) for decorating
– Refrigerator for chilling cookies
Frequently Asked Questions
Can I use regular chocolate instead of melting chocolate?
Yes, but melting chocolate is designed to melt smoothly and set nicely. Regular chocolate chips may not yield the same results.
How do I prevent the chocolate from seizing?
Make sure your bowl and utensils are completely dry, as water can cause chocolate to seize. Avoid overheating the chocolate by melting in short intervals.
Can I make these cookies in advance?
Absolutely! These cookies can be made a few days in advance and stored properly, making them a great option for parties or gatherings.
What if I don’t have coconut oil?
Coconut oil is optional. You can melt the chocolate without it, although the chocolate may be a bit thicker.
Are there any dietary alternatives?
Yes! You can use dairy-free chocolate and gluten-free Oreos to make these treats suitable for various dietary preferences.
Conclusion
Cowboy Boot Chocolate Covered Oreos are a delightful and creative treat that combines the fun of the Wild West with the irresistible taste of chocolate and Oreos. This recipe is perfect for any occasion, and with the tips and variations provided, you can customize them to fit your theme or personal preference. Whether you’re serving them at a party or gifting them to friends, these cookies are sure to be a hit!
Cowboy Boot Chocolate Covered Oreos: An Incredible 7-Step Recipe
- Total Time: 35 minutes
Ingredients
– 1 package of Oreo cookies
– 1 cup of melting chocolate (dark, milk, or white)
– 1 tablespoon of coconut oil (optional for smooth melting)
– Food coloring (optional for designs)
– Edible decorations (sprinkles, sugar, etc.)
Instructions
Creating Cowboy Boot Chocolate Covered Oreos is straightforward. Follow these easy steps to make your delicious treats:
1. Melt the Chocolate: In a microwave-safe bowl, combine the melting chocolate and coconut oil (if using). Heat in 30-second intervals, stirring until the mixture is fully melted and smooth.
2. Prepare Your Workspace: Line a baking sheet with parchment paper to place the dipped Oreos on.
3. Dip the Oreos: Using a fork, dip each Oreo into the melted chocolate, ensuring it is fully coated. Allow excess chocolate to drip off before placing it on the prepared baking sheet.
4. Chill the Cookies: Place the coated Oreos in the refrigerator for about 15 minutes to allow the chocolate to set.
5. Decorate: Once the chocolate has hardened, use colored melting chocolate to pipe designs onto the cookies, creating the shape of cowboy boots. You can use a piping bag or a plastic sandwich bag with a corner snipped off.
6. Add Edible Decorations: While the design is still wet, sprinkle edible decorations on top to enhance the cowboy boot look. This can include colored sugar or themed sprinkles.
7. Final Chill: Return the decorated Oreos to the refrigerator for another 15 minutes to set the decorations.
Following these simple steps will lead you to create your very own Cowboy Boot Chocolate Covered Oreos that are sure to delight everyone.
- Prep Time: 15 minutes
- Cook Time: 20 minutes
Nutrition
- Serving Size: 12 cookies
- Calories: 150 kcal
- Fat: 8g
- Protein: 1g